6-inch Red Victorian Floor Tiles Renovated in a Windermere Kitchen
These old Red Victorian floor tiles in the kitchen of a property in Windermere might appear to be Quarry Tiles on first inspection however they are not. One way of telling is to look at the grout lines, modern quarry tiles are always set with at least 4mm grout joints (sometimes a lot more). Victorian floor tiles are always rebated together as close as possible with only a millimetre of grout being put in place but as grout wasn’t around over a 100 years ago it was either white limecrete or grey screed cement which was used.
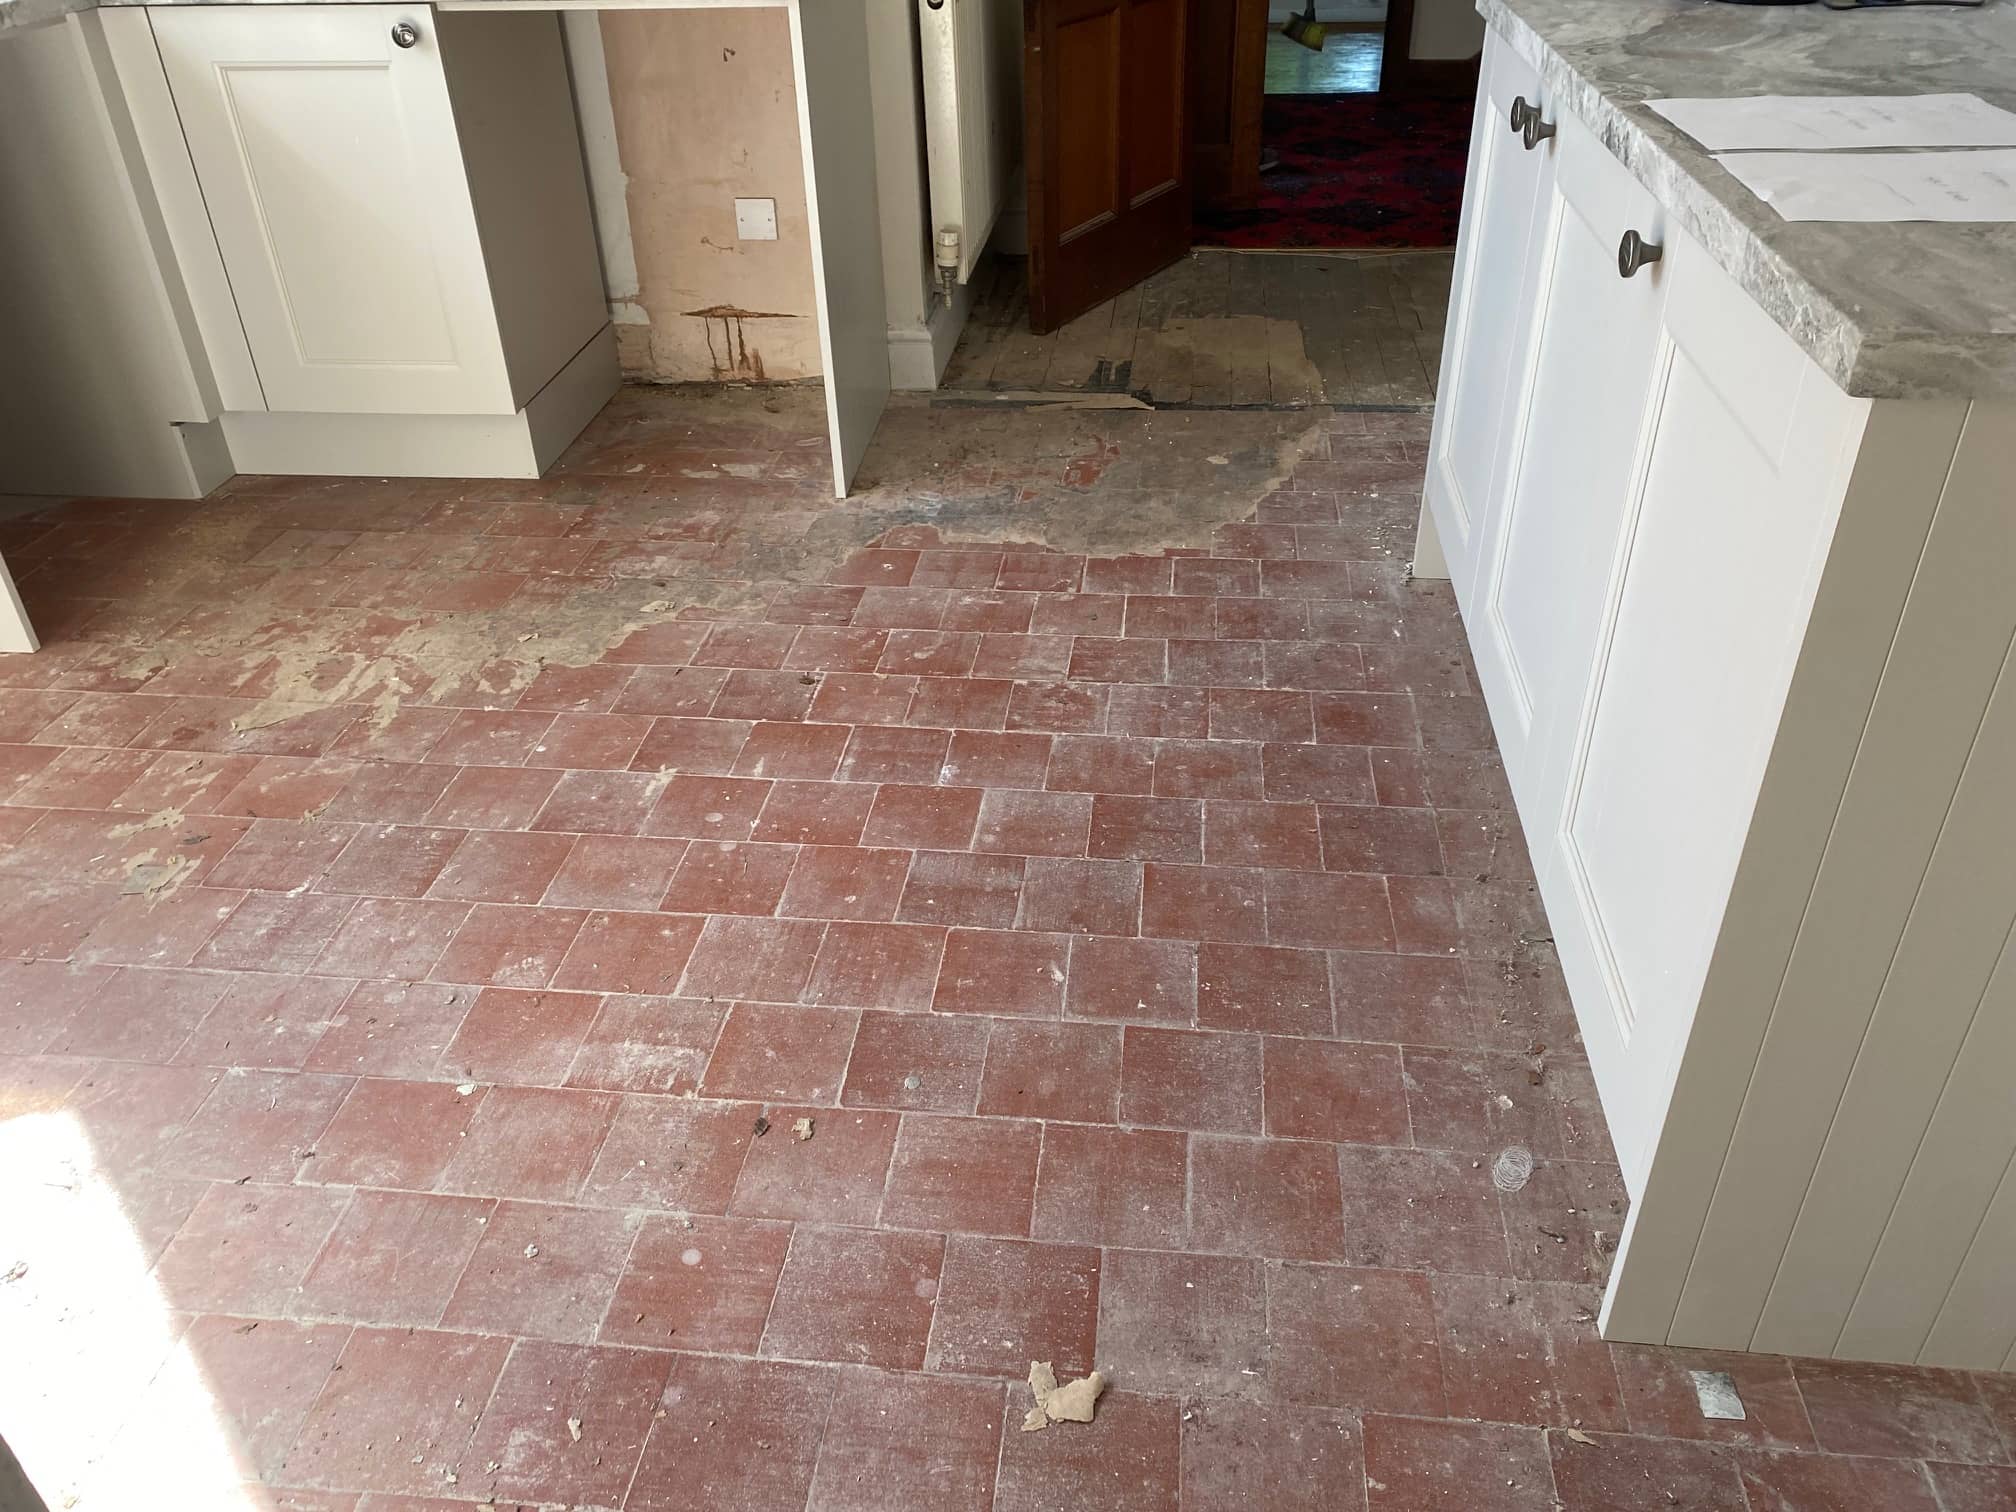
It’s important to know what you are working on as standard Victorian tiles have no sand fillers in the clay unlike the much thicker contract and standard quarry tiles; these red Victorian tiles are pure clay all the way through which means we can go much deeper on the cleaning.
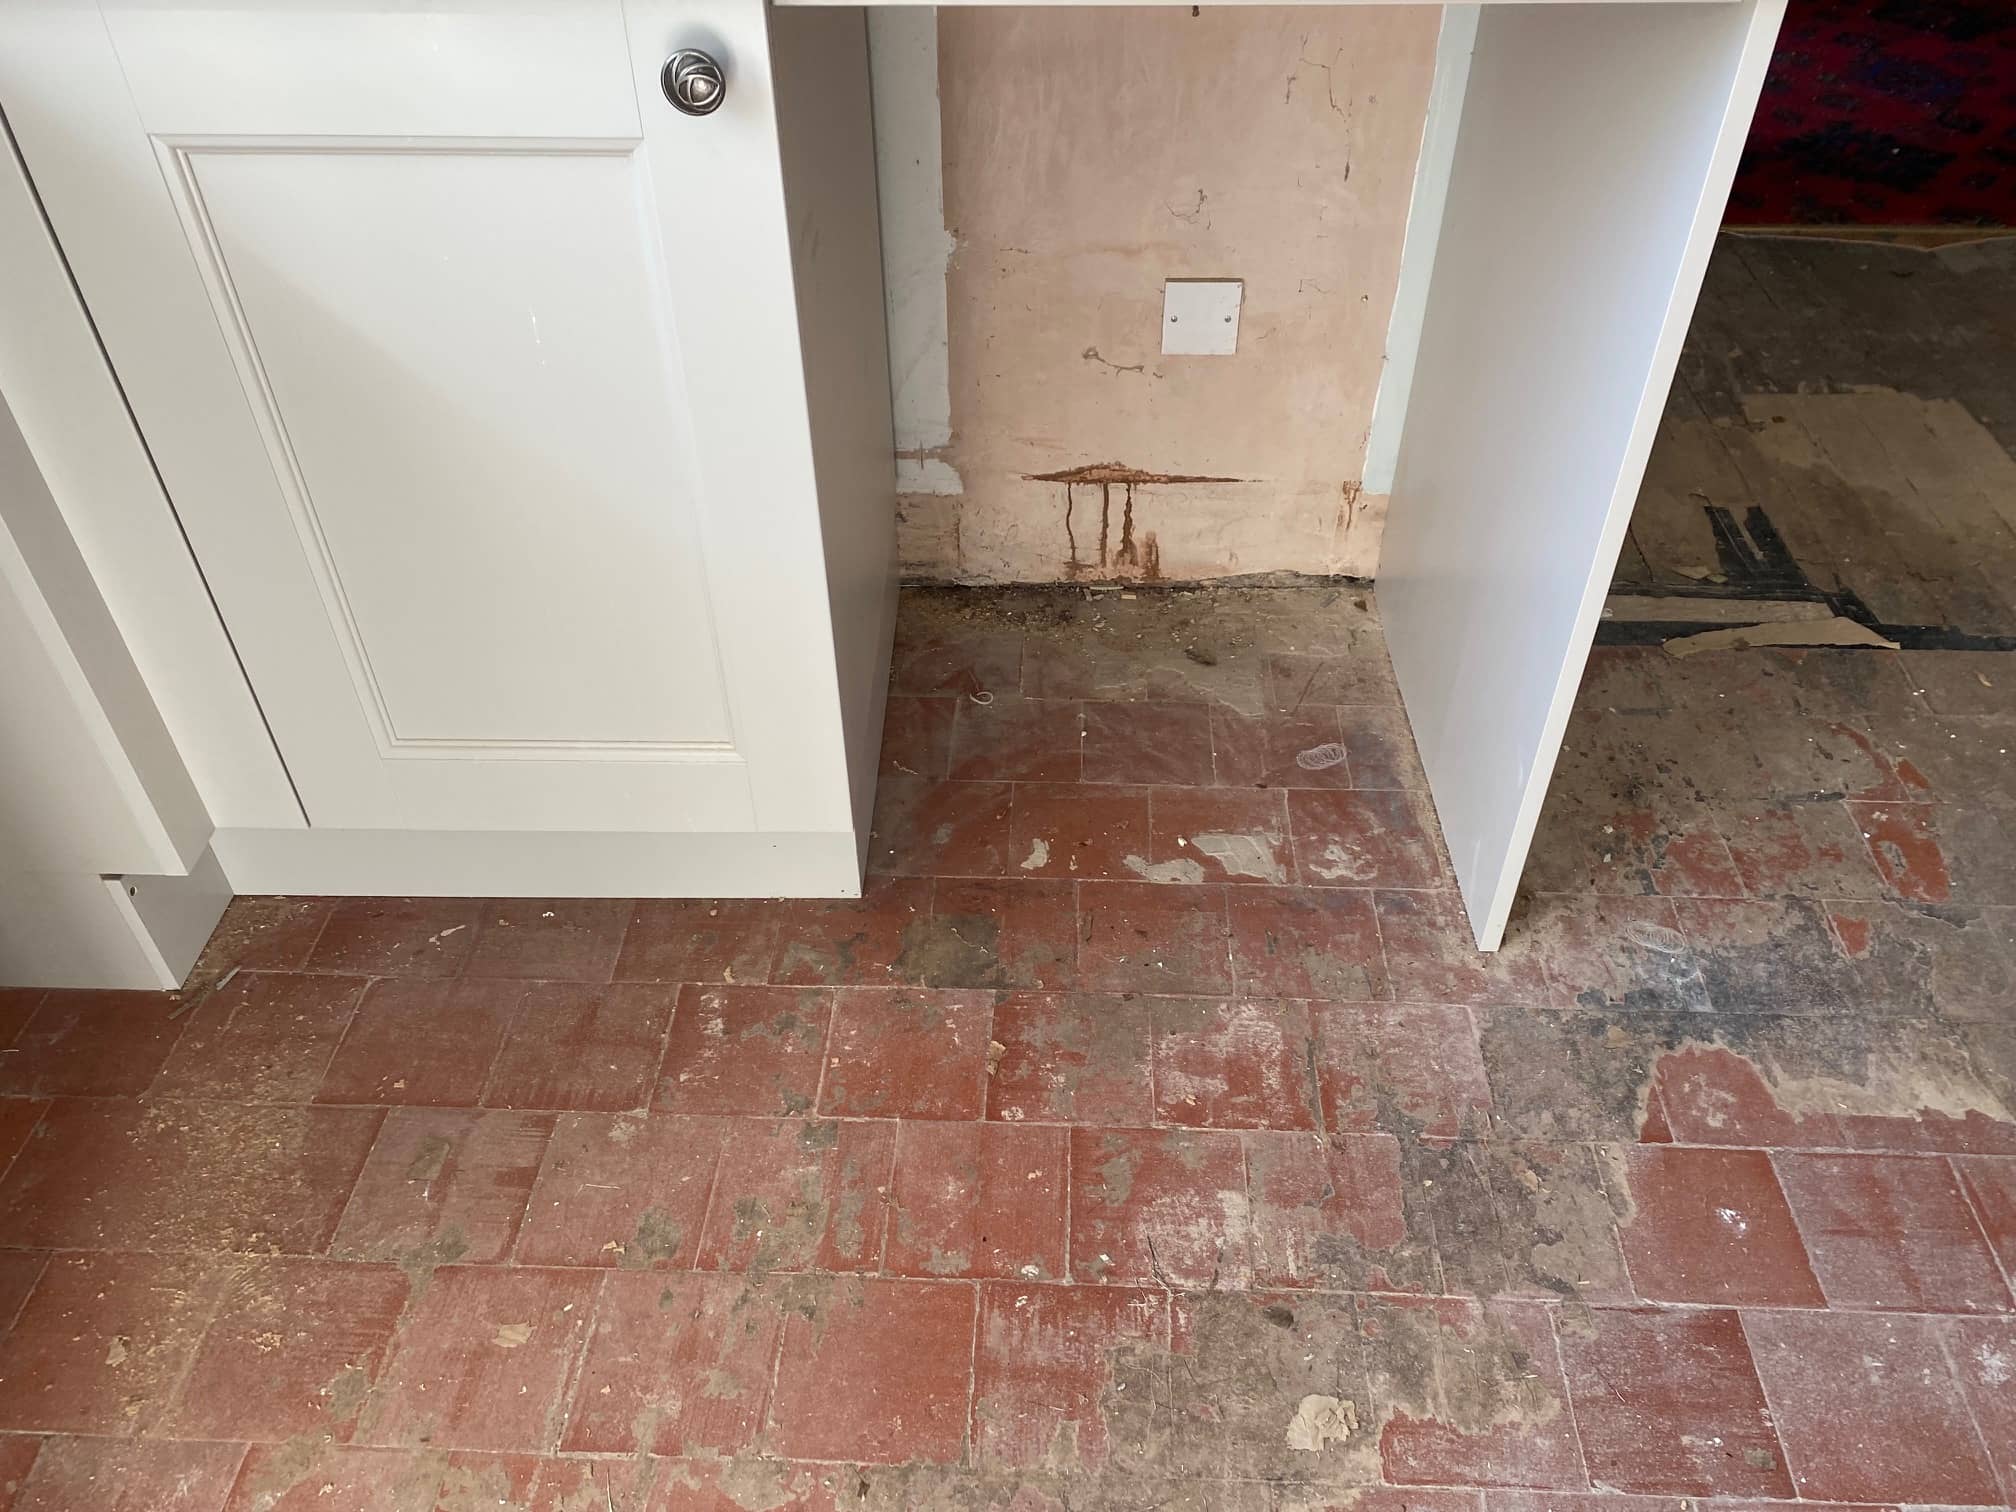
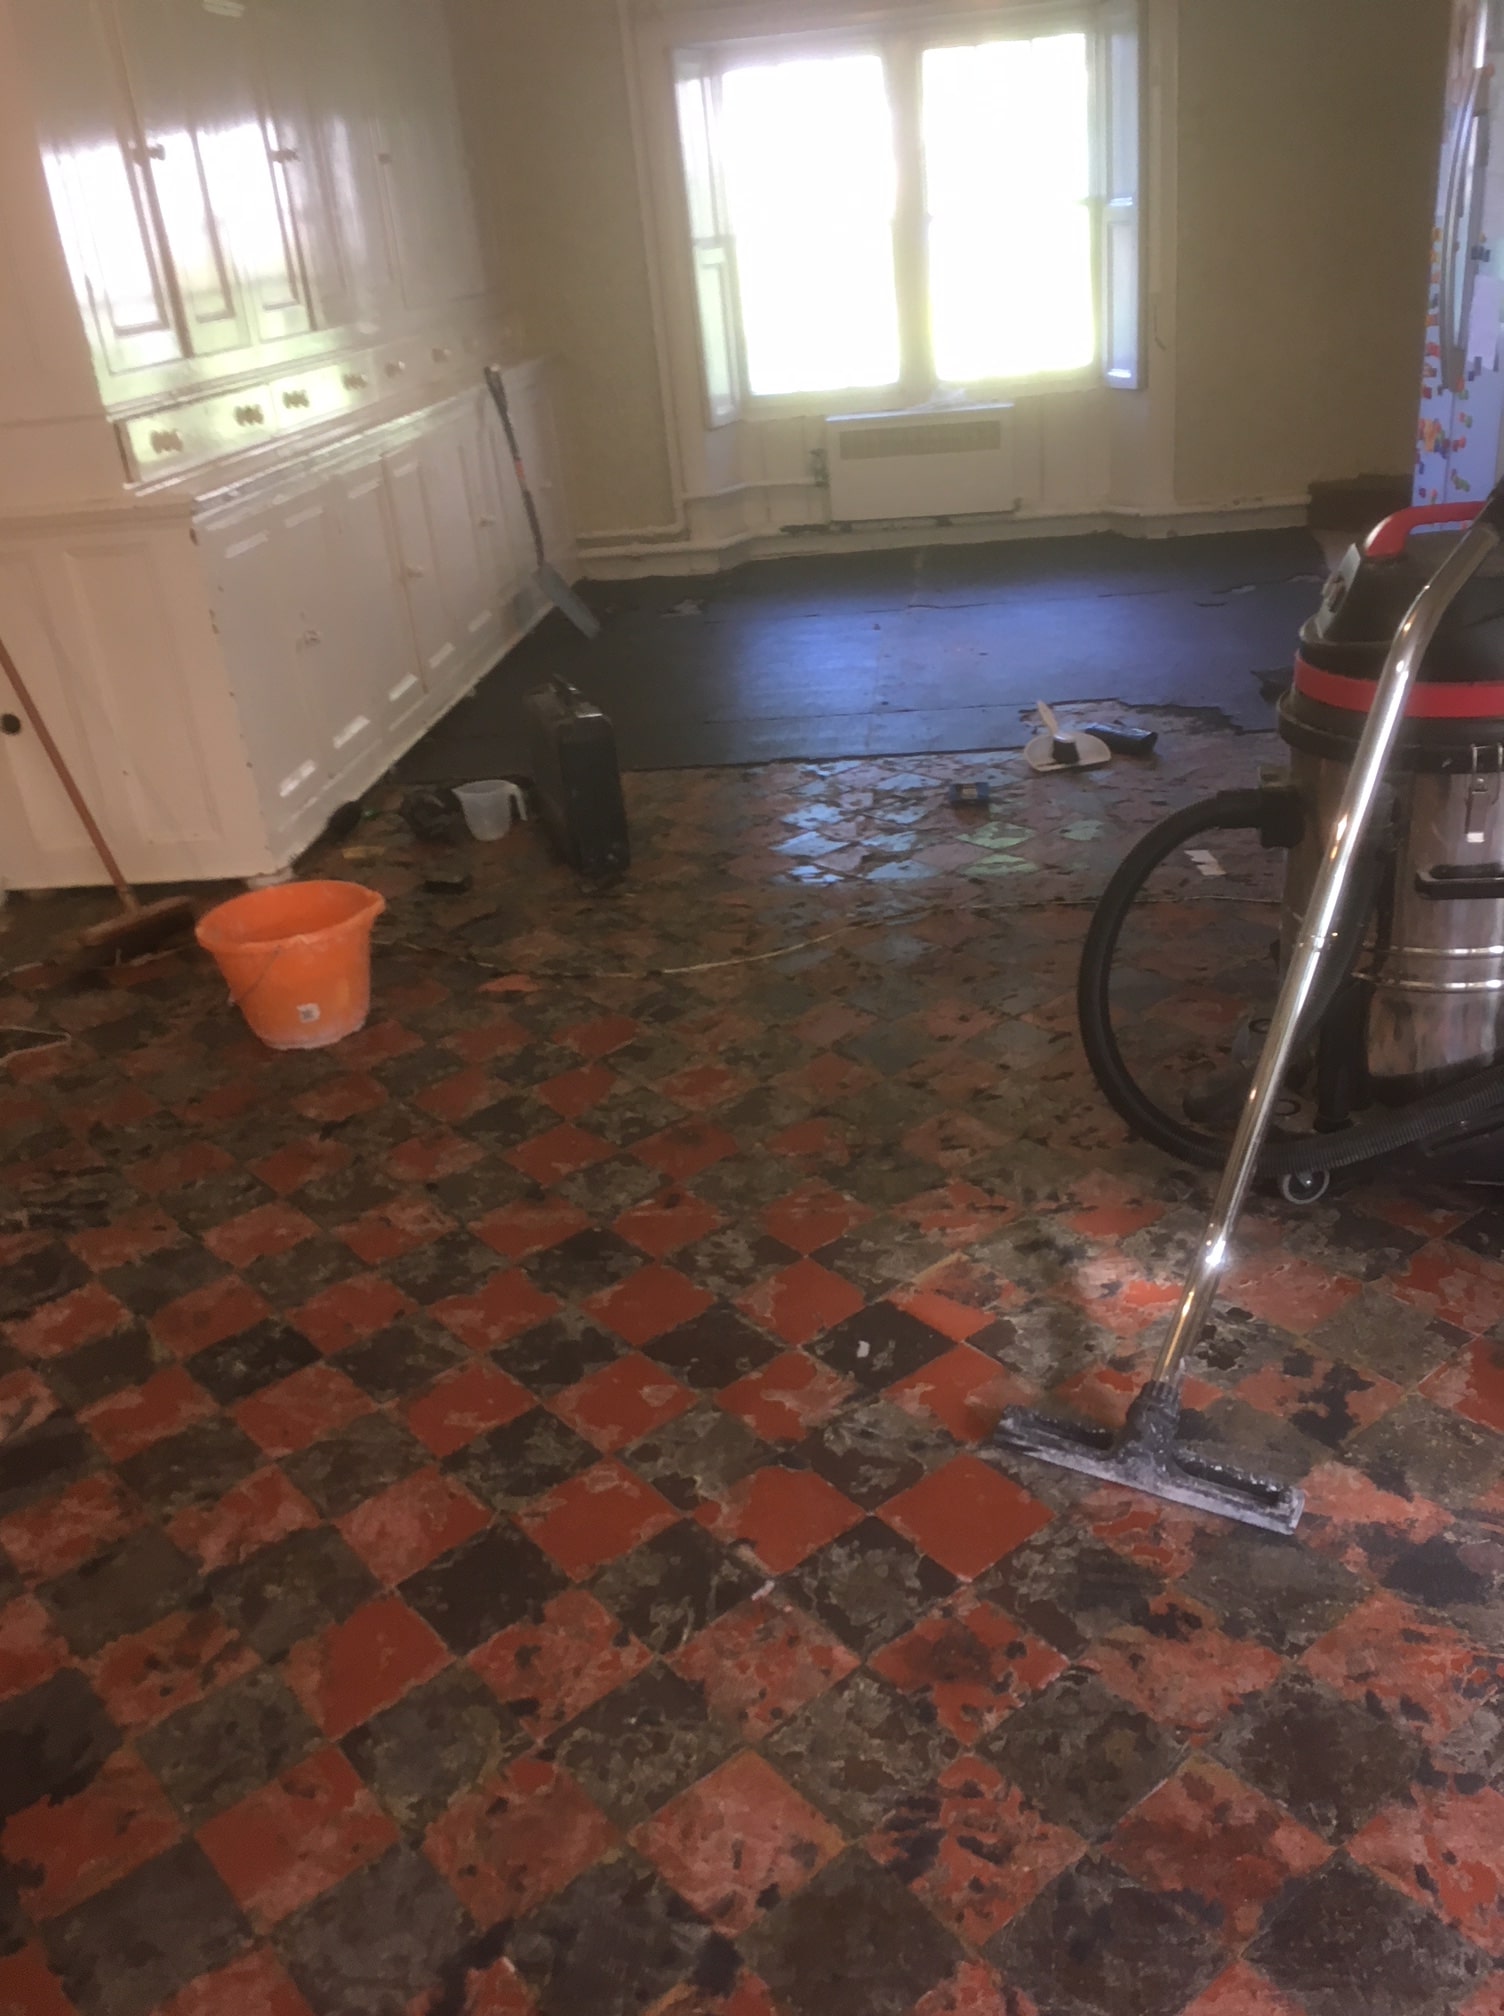
The floor had previously been covered in carpet for many years and to secure it and the underlay to the tiles a strong adhesive had been used. A self-levelling cement compound had also been applied and lastly there was red paint to deal with.
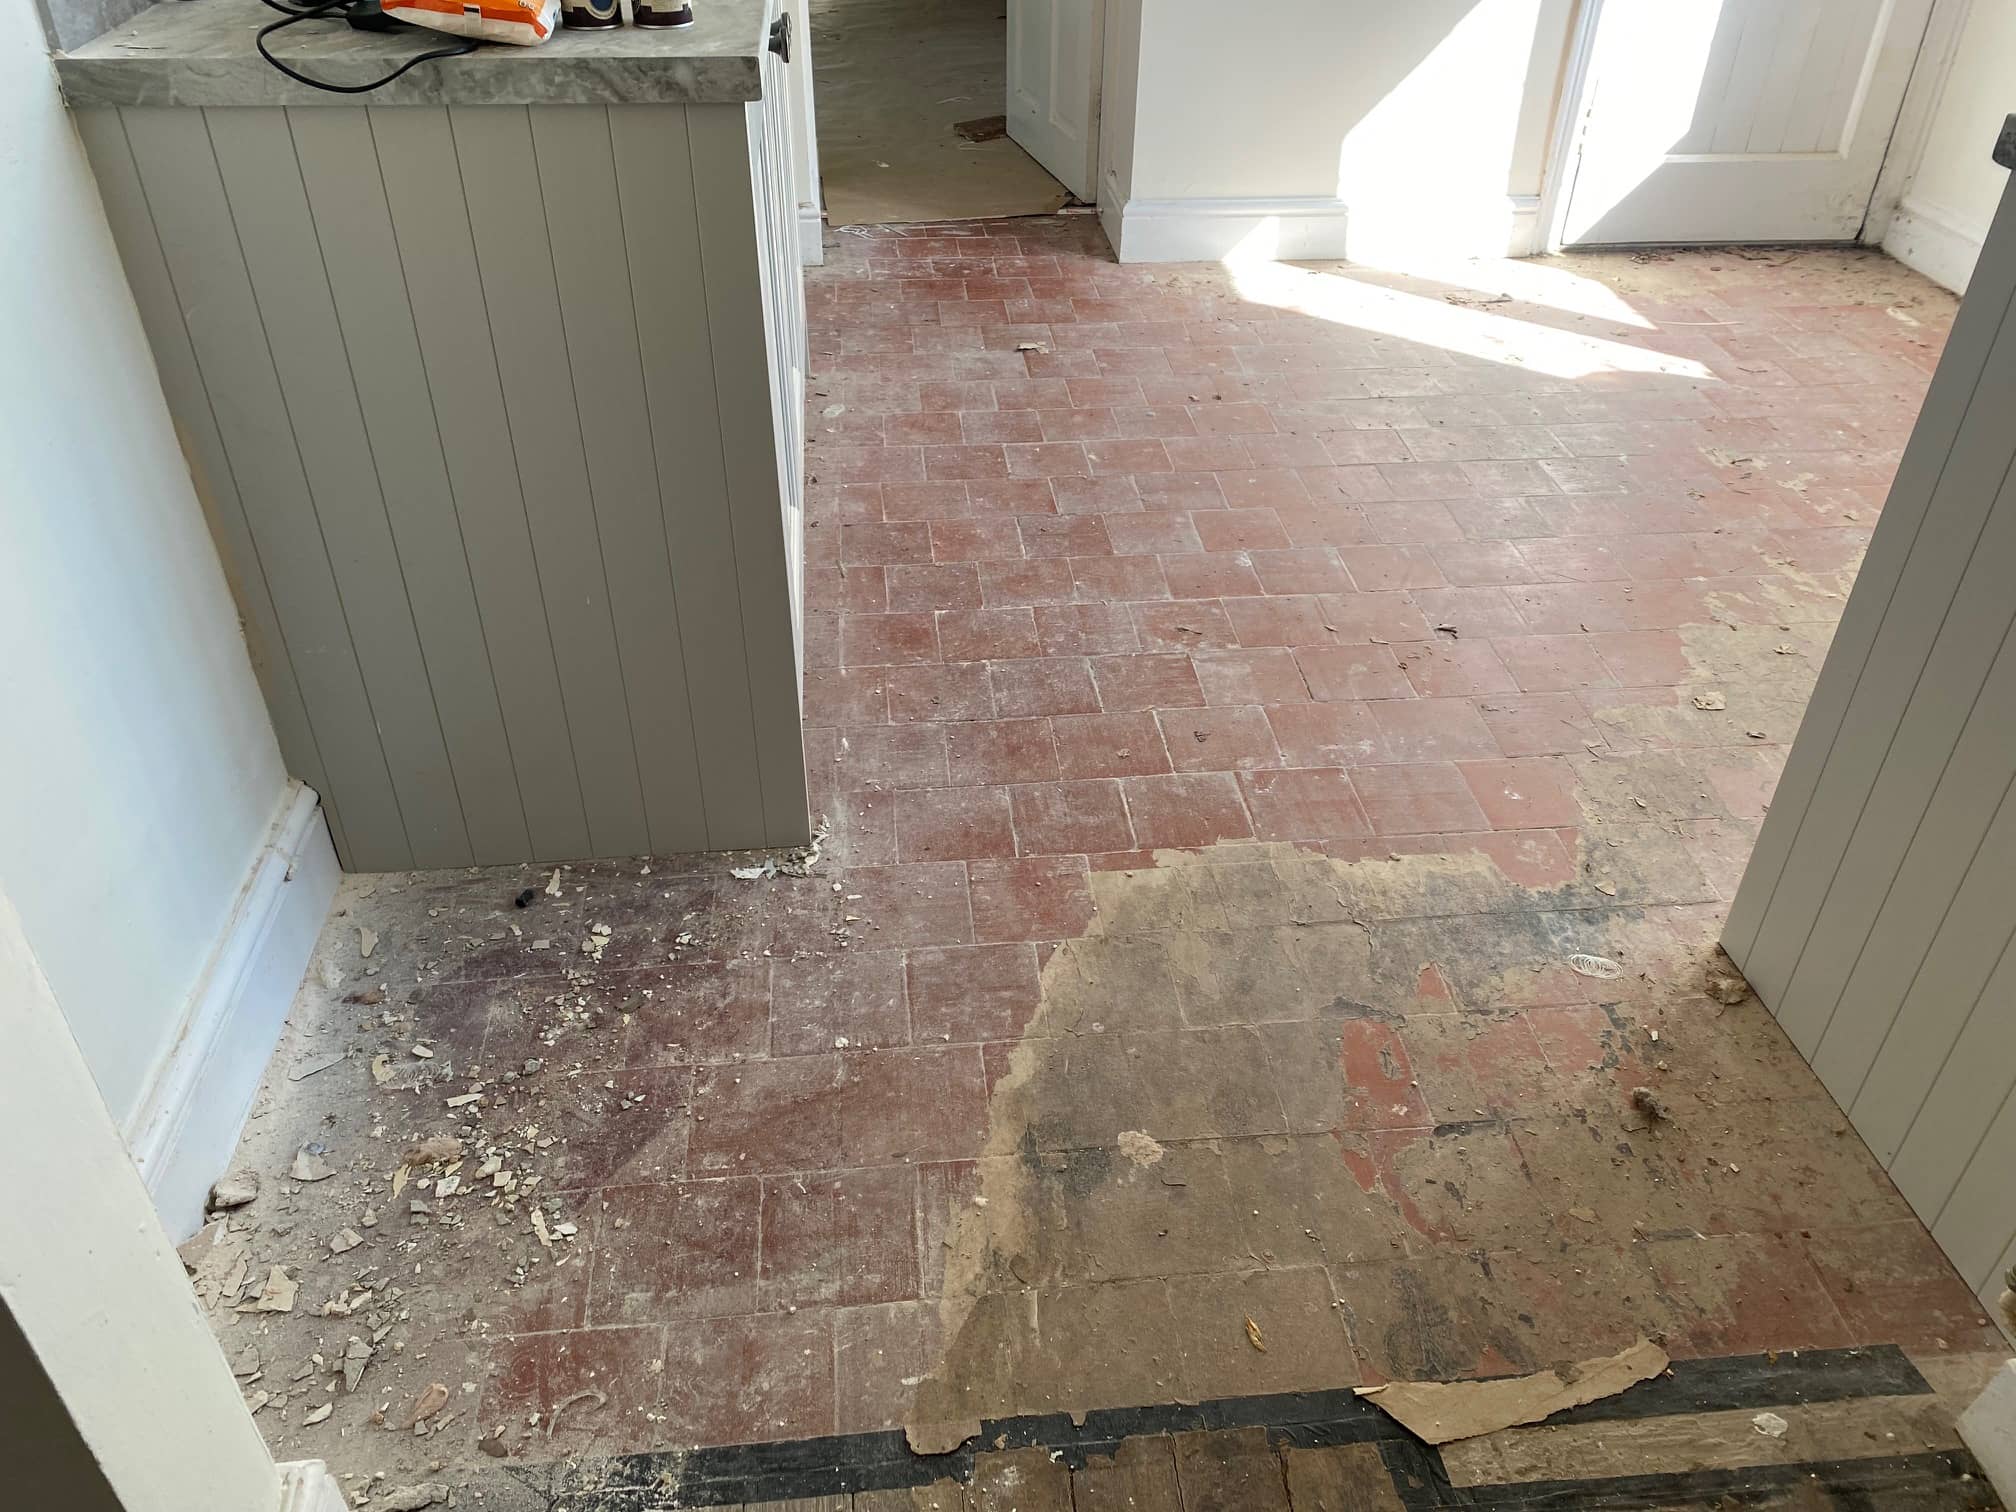
Cleaning a Victorian Tiled Kitchen Floor
Before cleaning the first task was to run a line of silicone around all the kitchen unit edges. These are often made of MDF and not solid wood and any amount of water will blow the MDF within 5 to 10 minutes of contact. Clear silicone is used for this and left in place as it’s a great way to protect the units even from the water used in daily mopping of the floor tiles. Once that had been applied the units were then covered with a protective plastic sheet that was secured in place with tape.
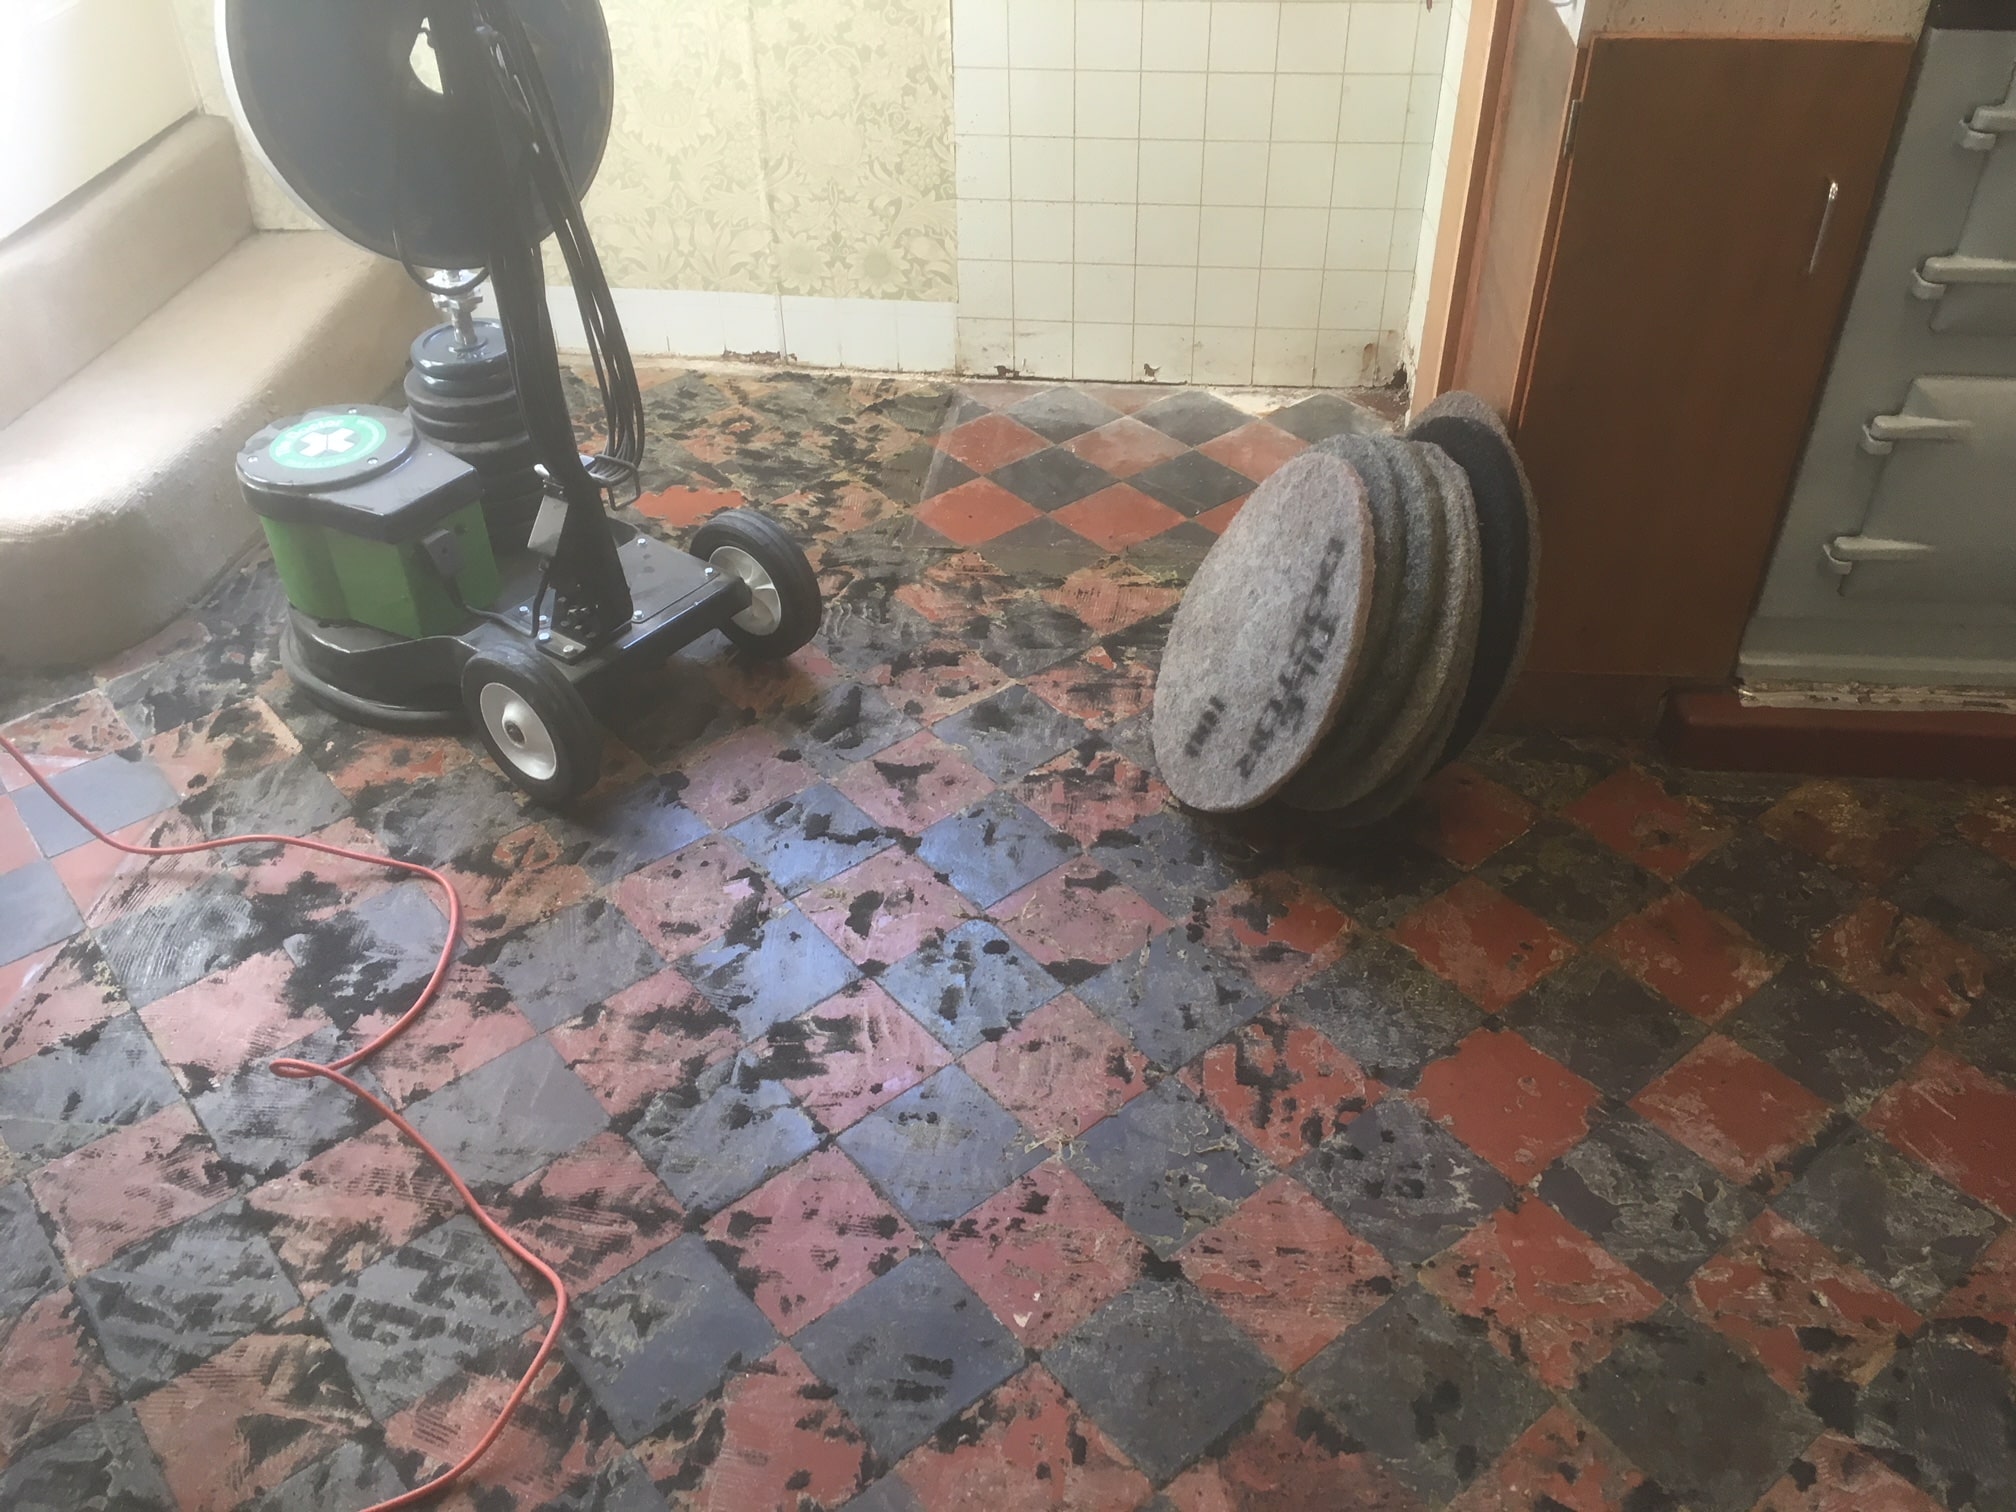
To tackle the red paint and other contaminates, Tile Doctor Oxy Gel was applied and scrubbed into the floor, this softens the paint and worked well on the remnants of carpet underlay that were still firmly attached to the tiles.
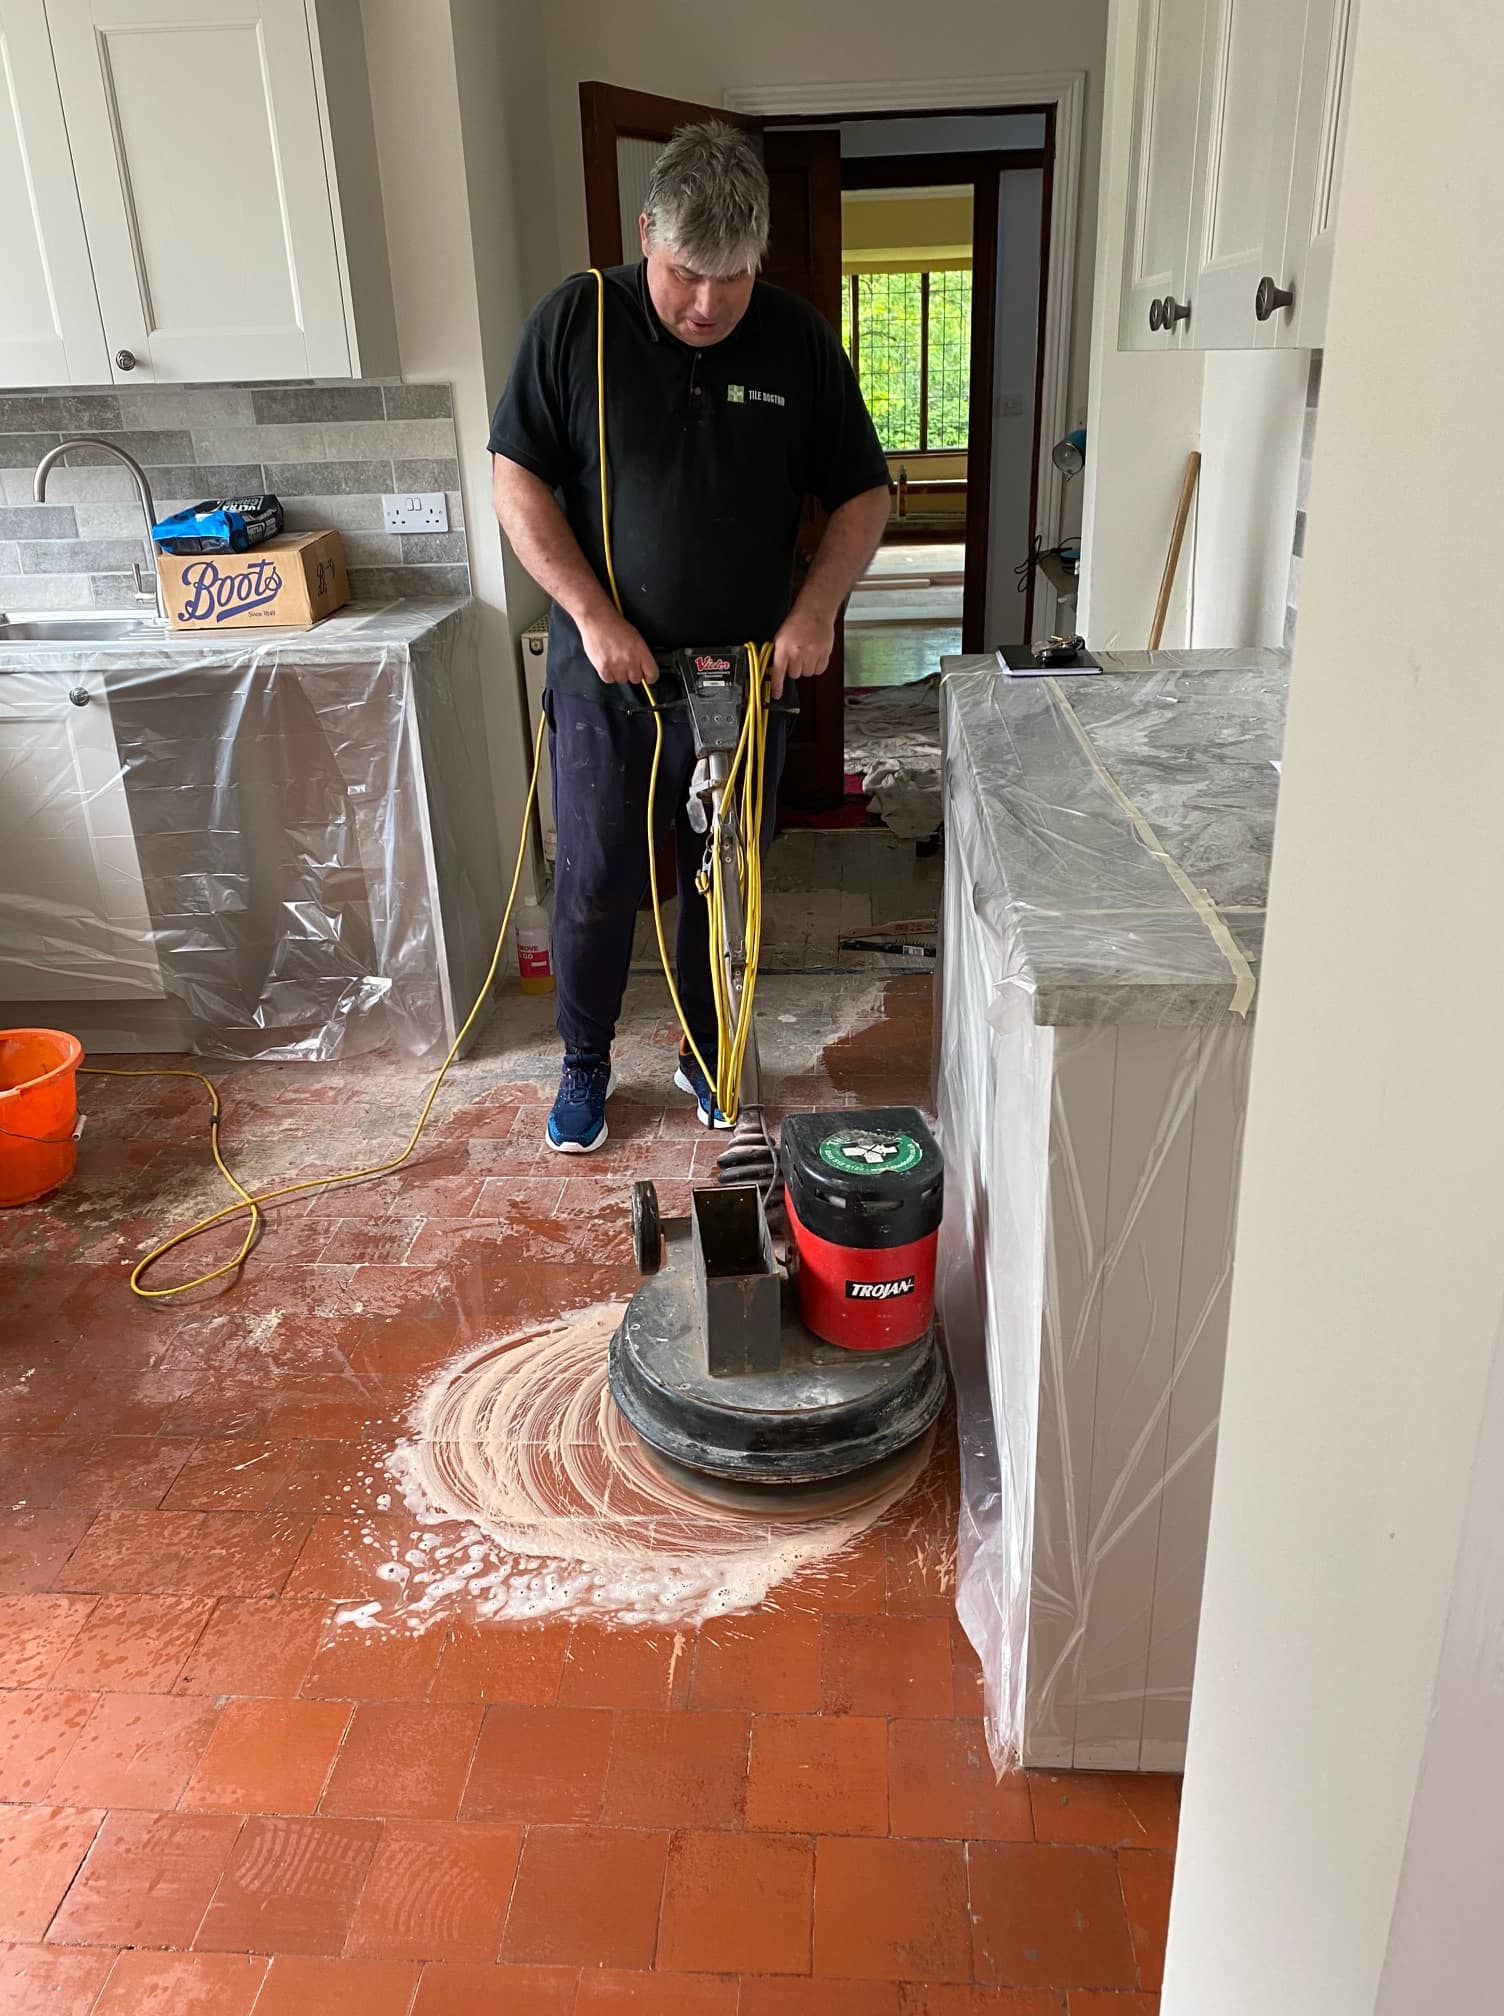
The cement screed was mostly scraped off and anything left over was loosened using Tile Doctor Acid Gel worked in with a buffing machine fitted with a black scrubbing pad. Some edging work was needed, and this had to be done by hand with small brushes. To finish off the floor was rinsed with water and a wet vacuum was used to extract all soiling and residue.
Sealing a Victorian Tiled Kitchen Floor
With the cleaning finished we left for the day and let the floor dry off overnight. The use of gel cleaning products ensured water was kept to a minimum and allow for a quicker drying time.
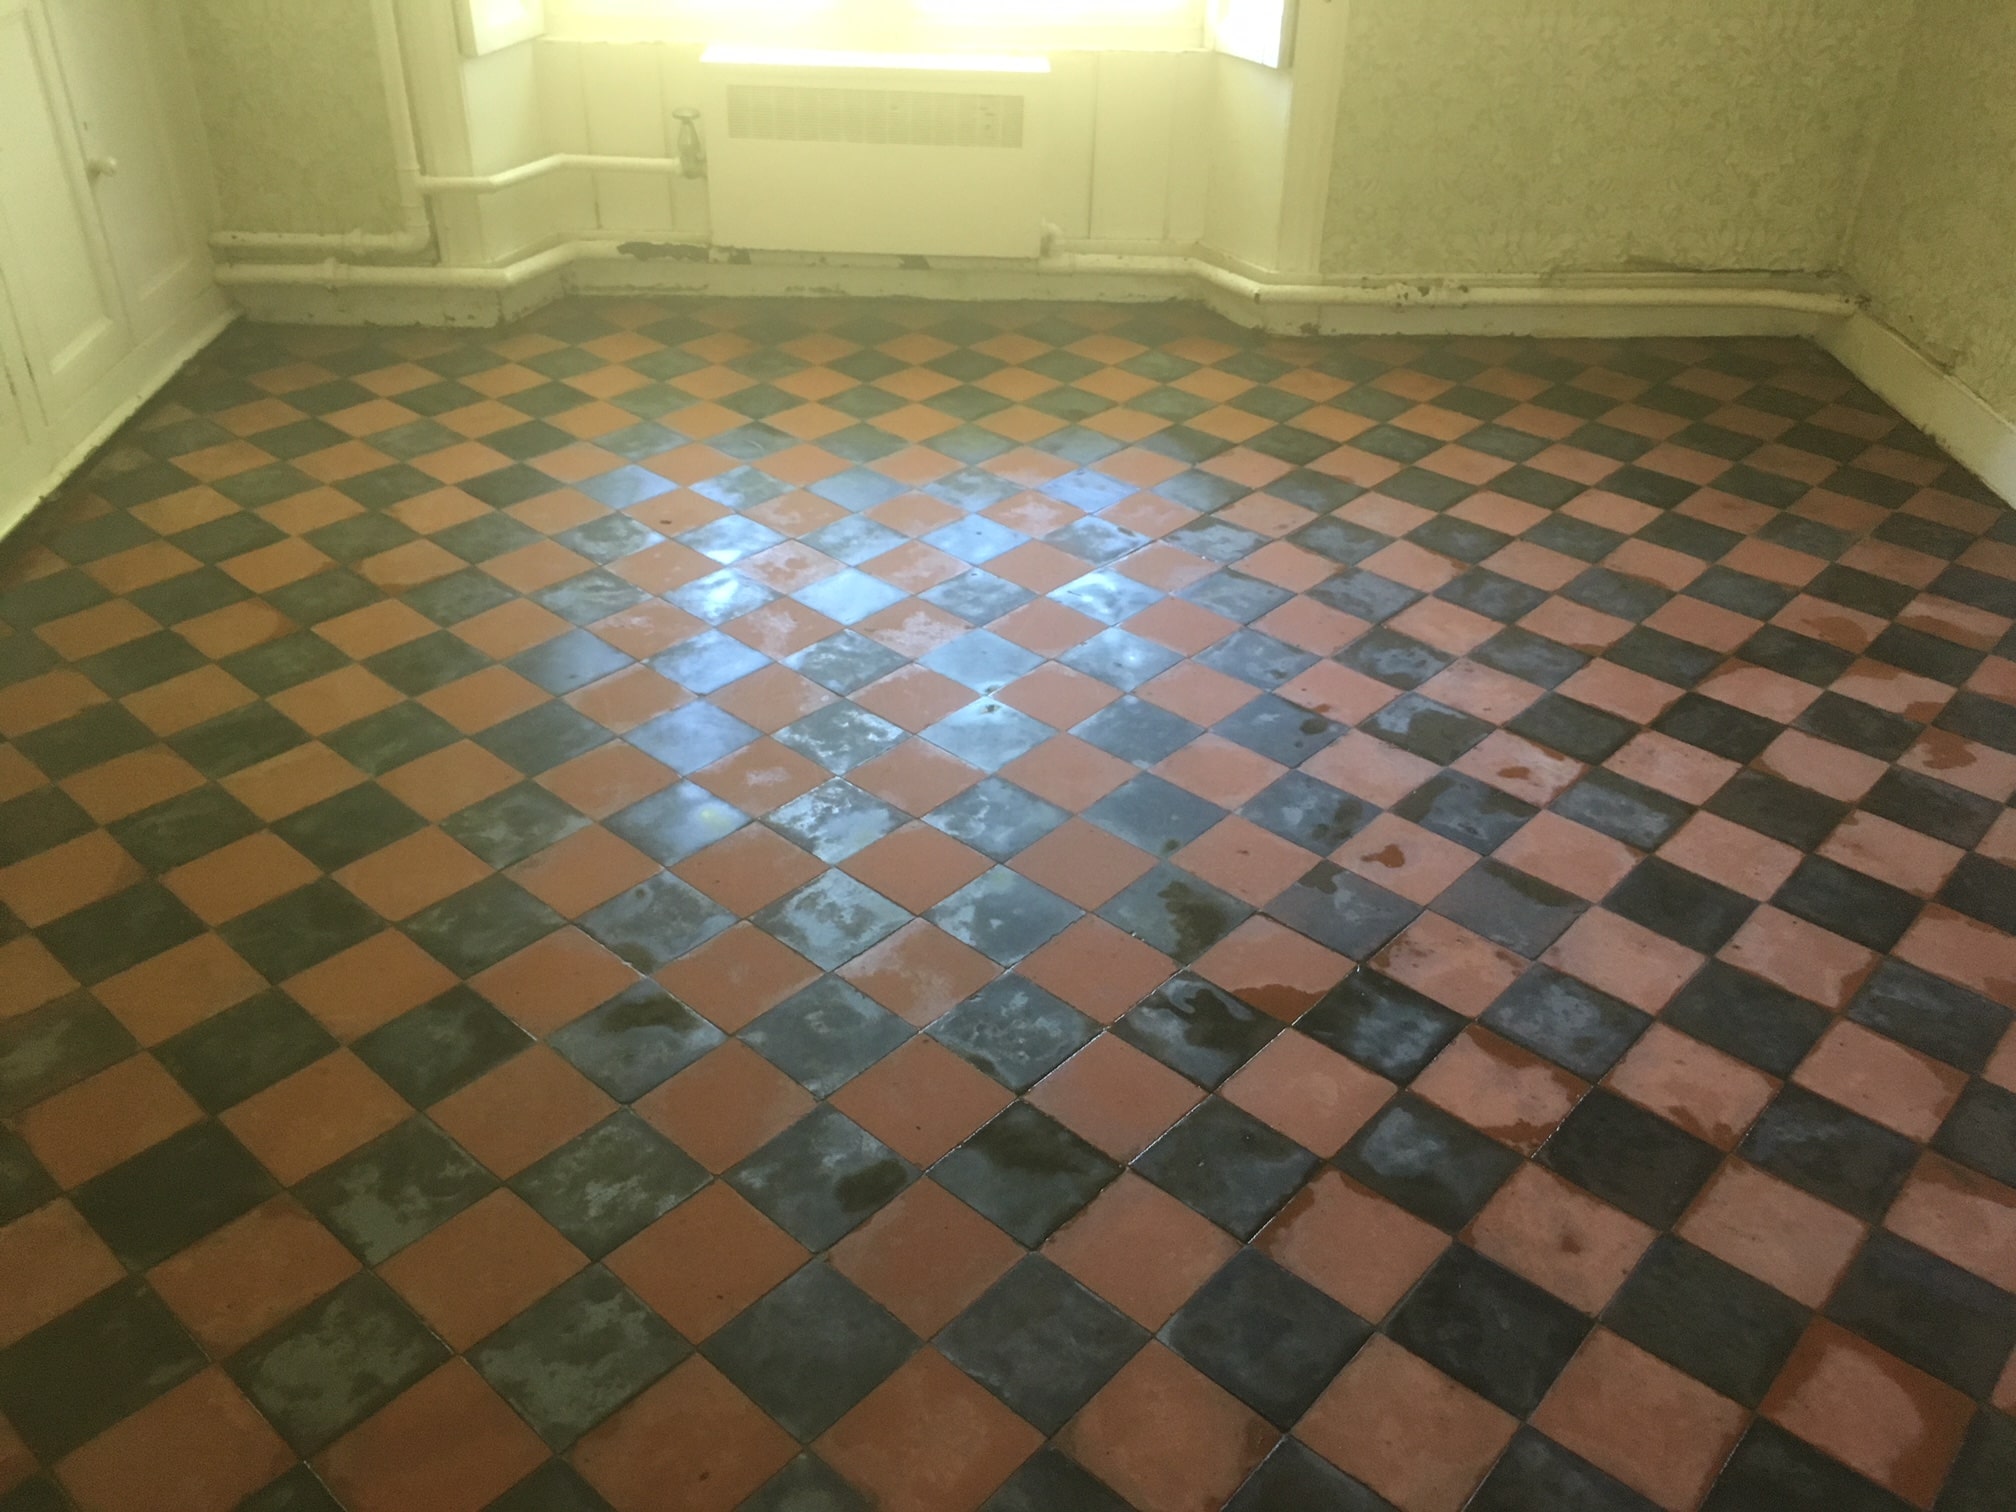
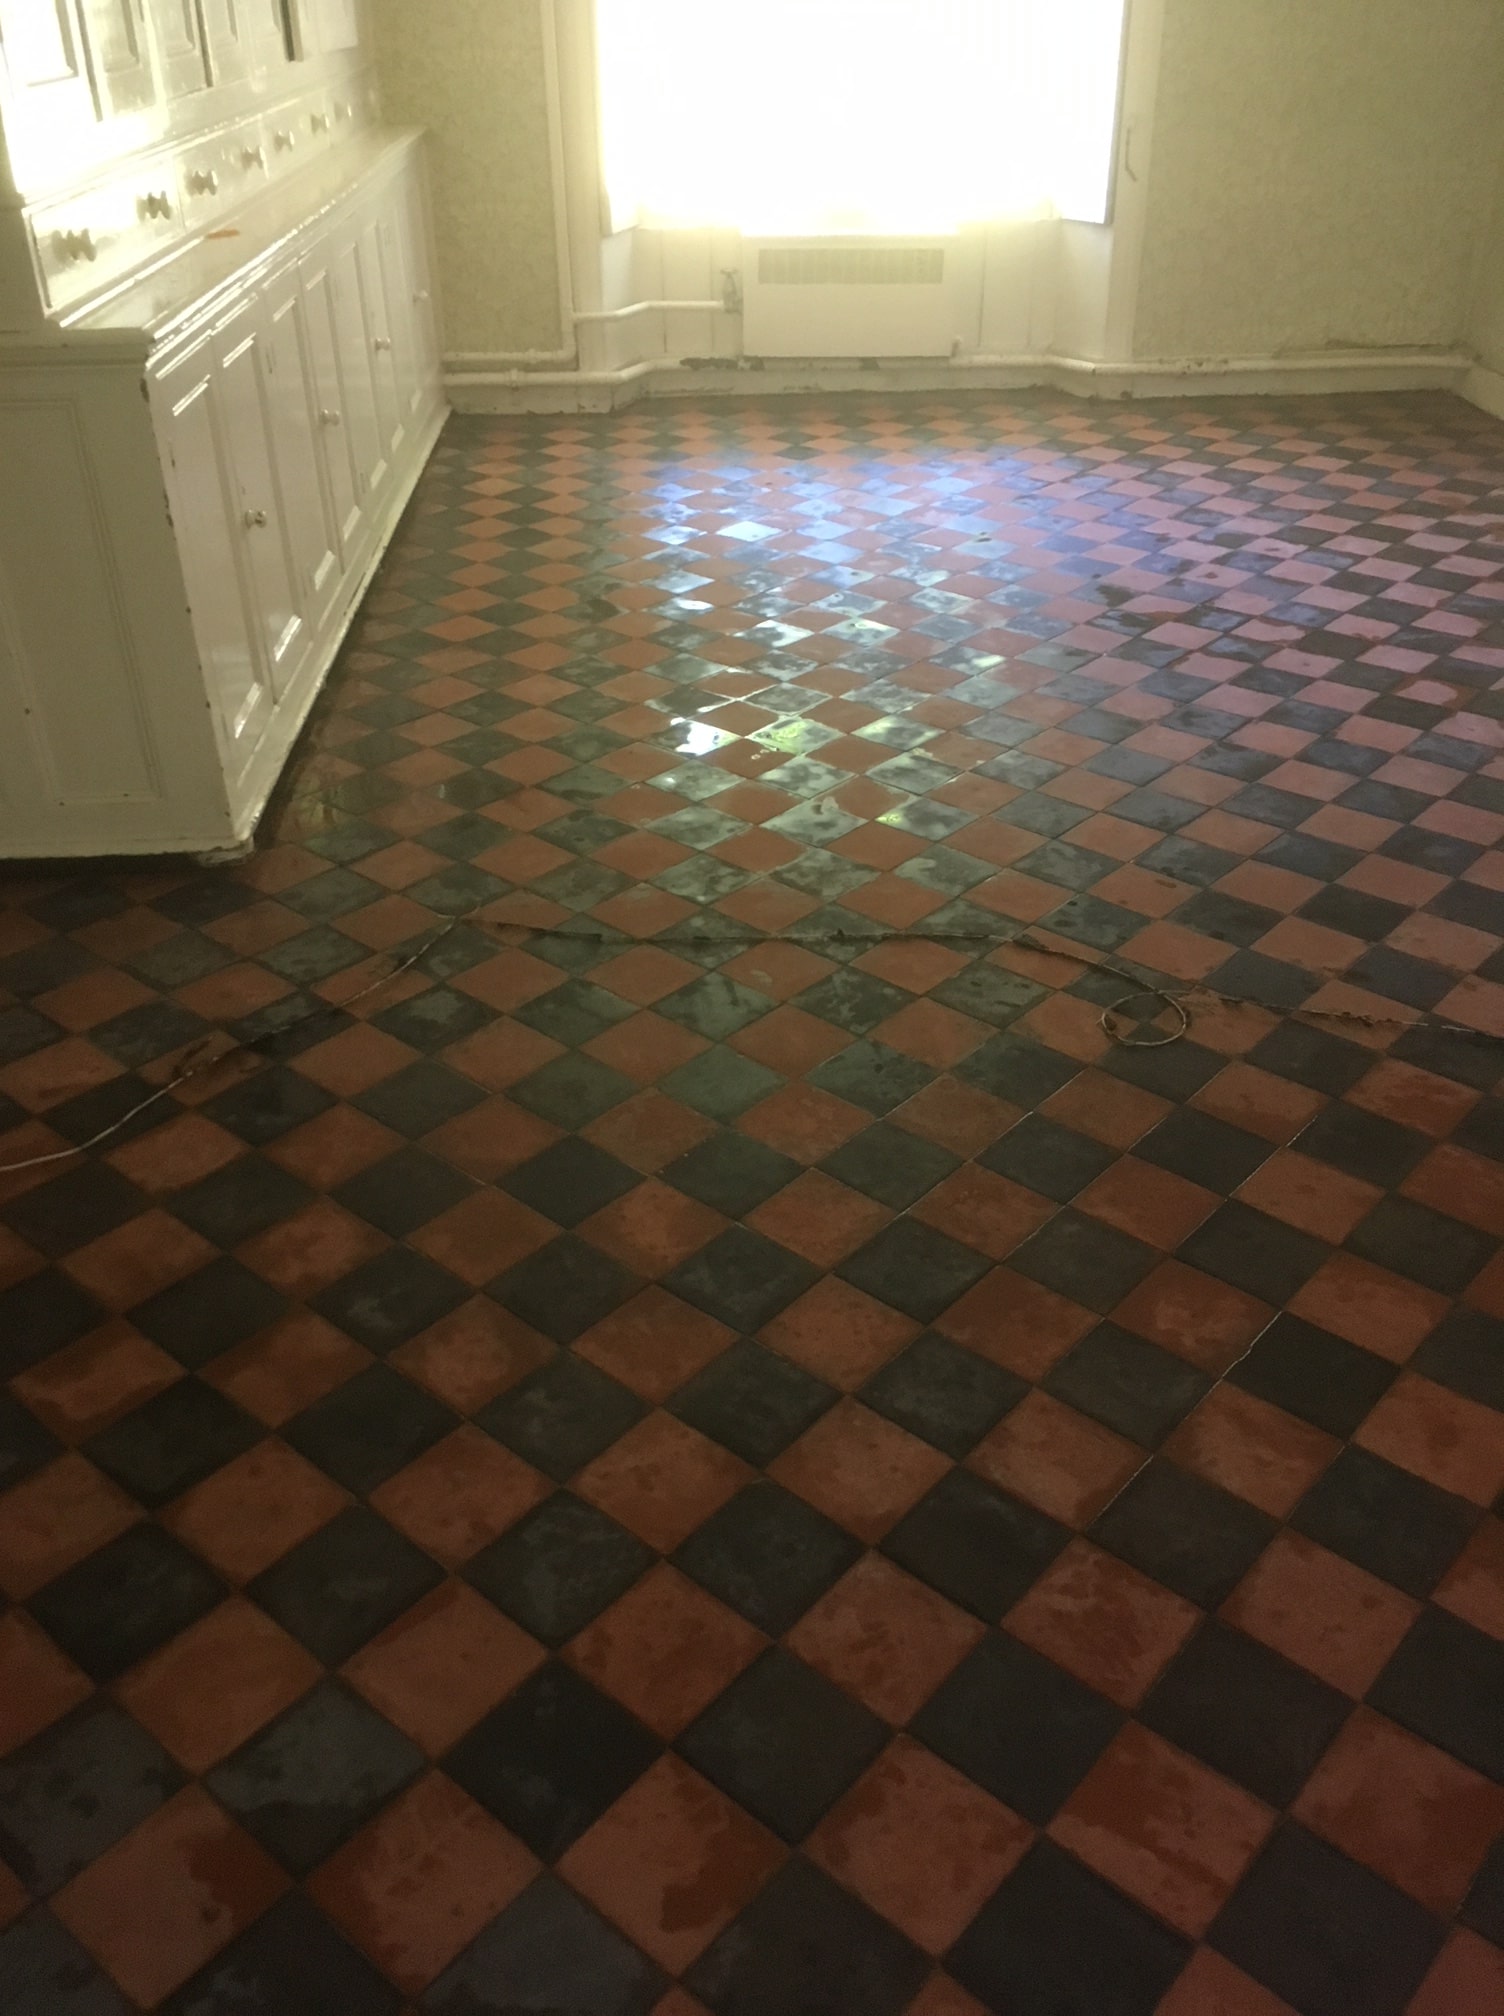
Next day the tiles were sealed with the tiles two coats of a breathable sealer called Tile Doctor X-Tra Seal. This sealer is an oil-based product that adds structure to the tile and does a great job of lifting the colour in the clay tile. X-Tra Seal is also fully breathable and will cope well with any moisture rising through the floor. This is always a concern with old floors like this one that don’t have the benefit of a damp proof membrane.

You will notice some patchiness on the after pictures of the clay tiles after the sealer had dried. With old floors like this you never know its full history and what might have been used on it before, in this case I suspect the patchiness is down to the miss use of a chemical cleaning product in the past, probably something with a strong acid base. These tiles are generally not acid sensitive but constant use of acid on any surface will deteriorate the finish as it opens the pores in the clay and lets the dirt in. Once the pores are open on a clay tile, they won’t close so we resolve this by using X-Tra seal and filling any cavities with oil.
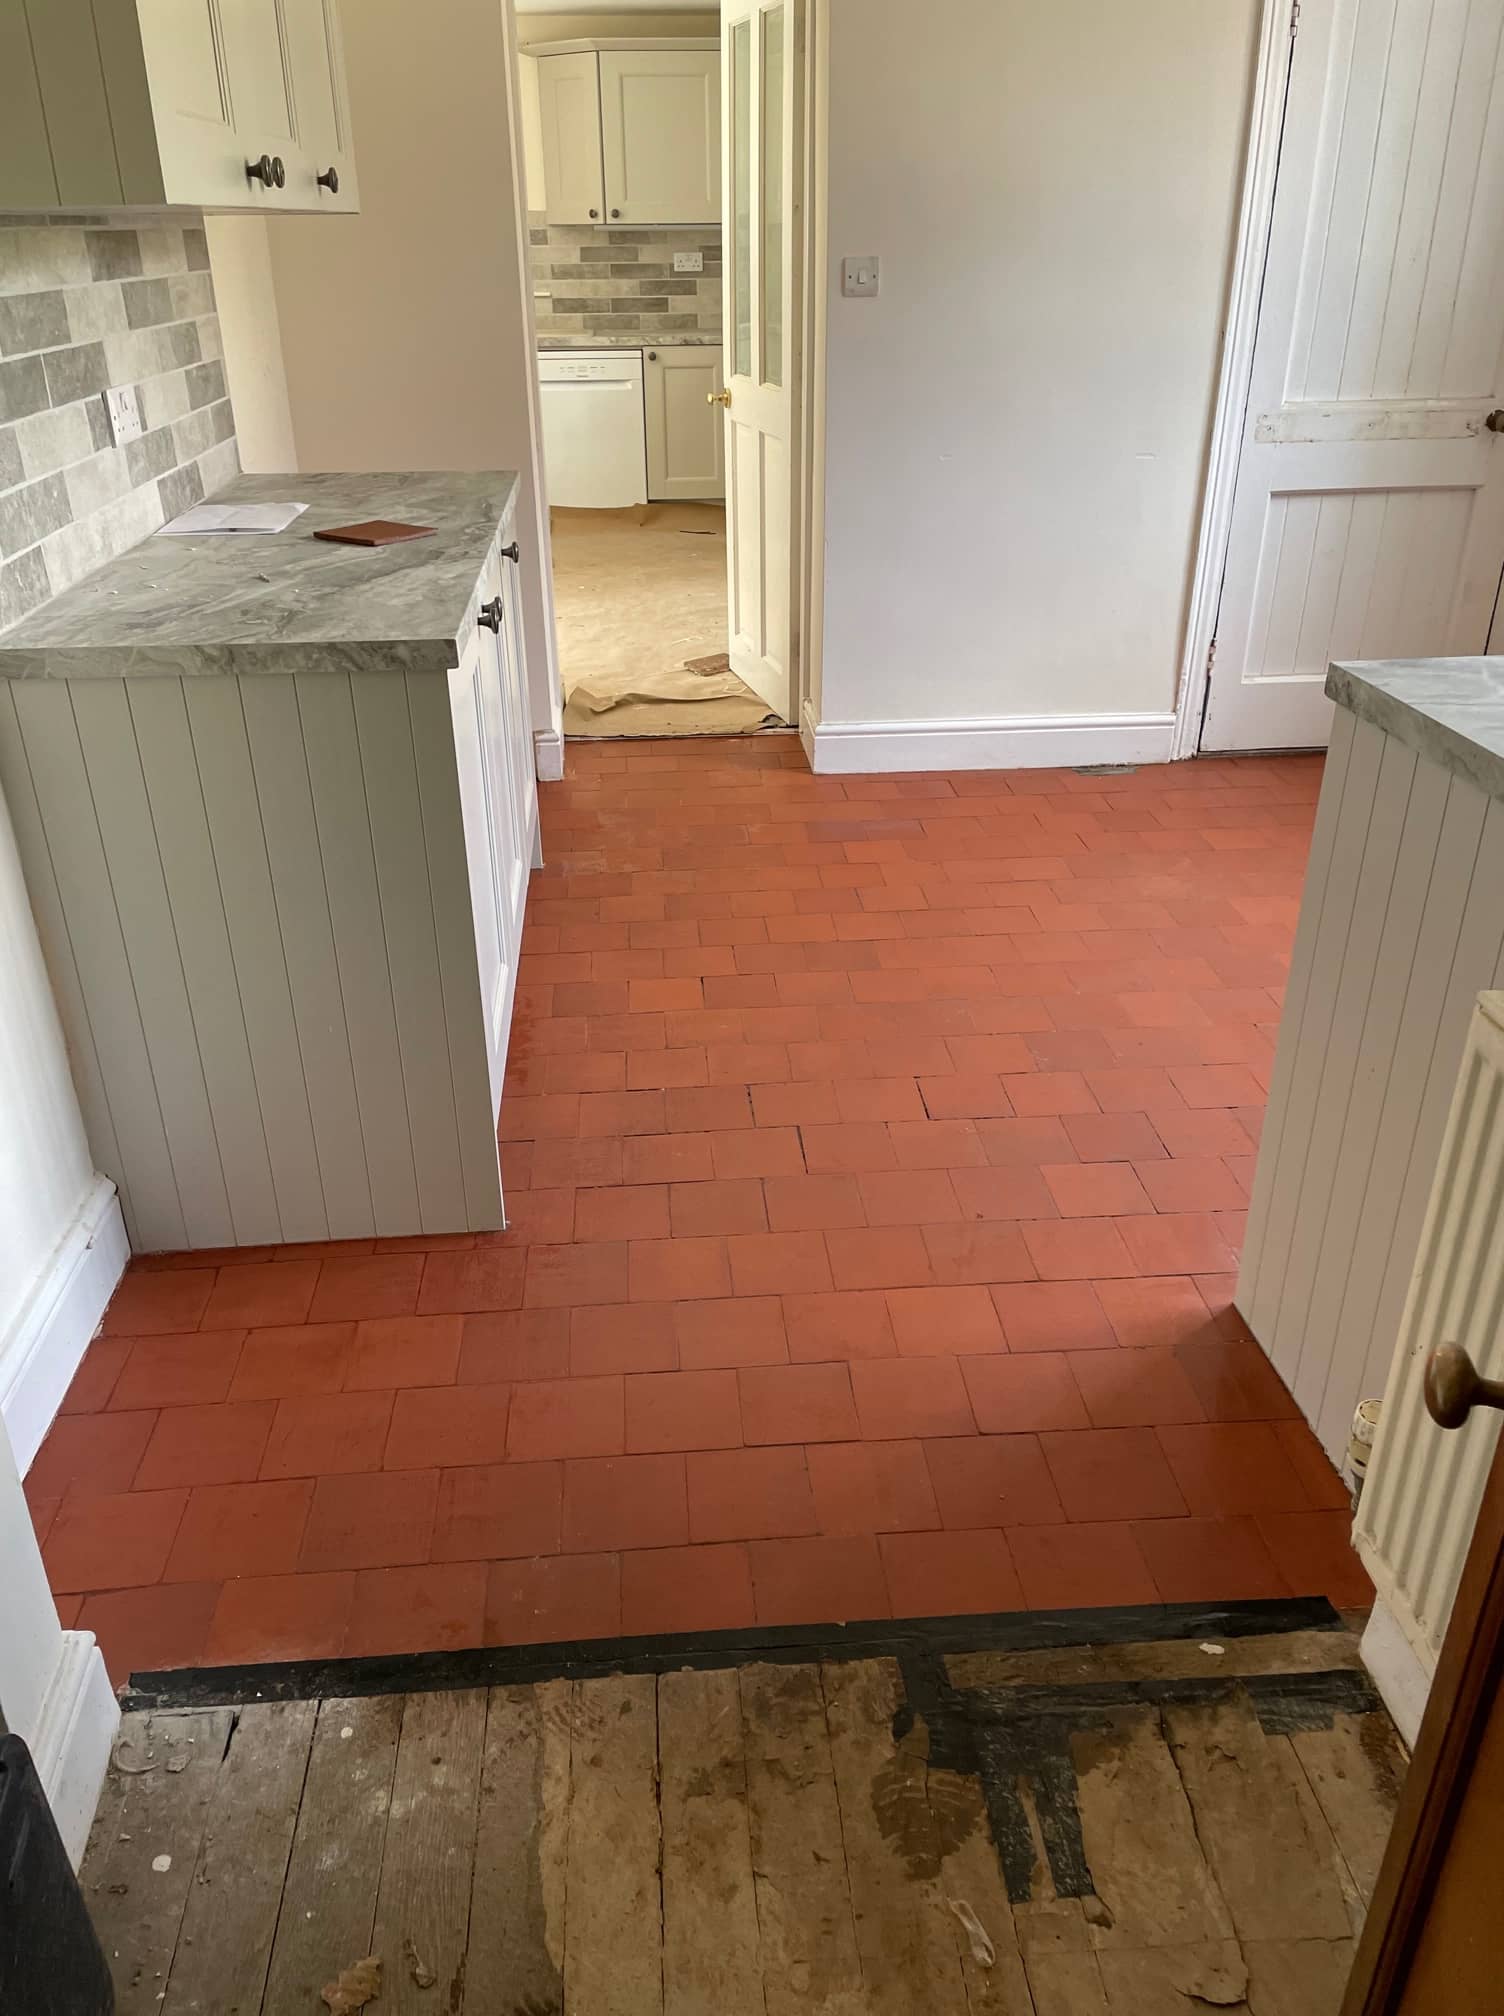
Once done the floor looked so much cleaner and brighter and the new sealer will protect it from ingrained dirt well into the future.
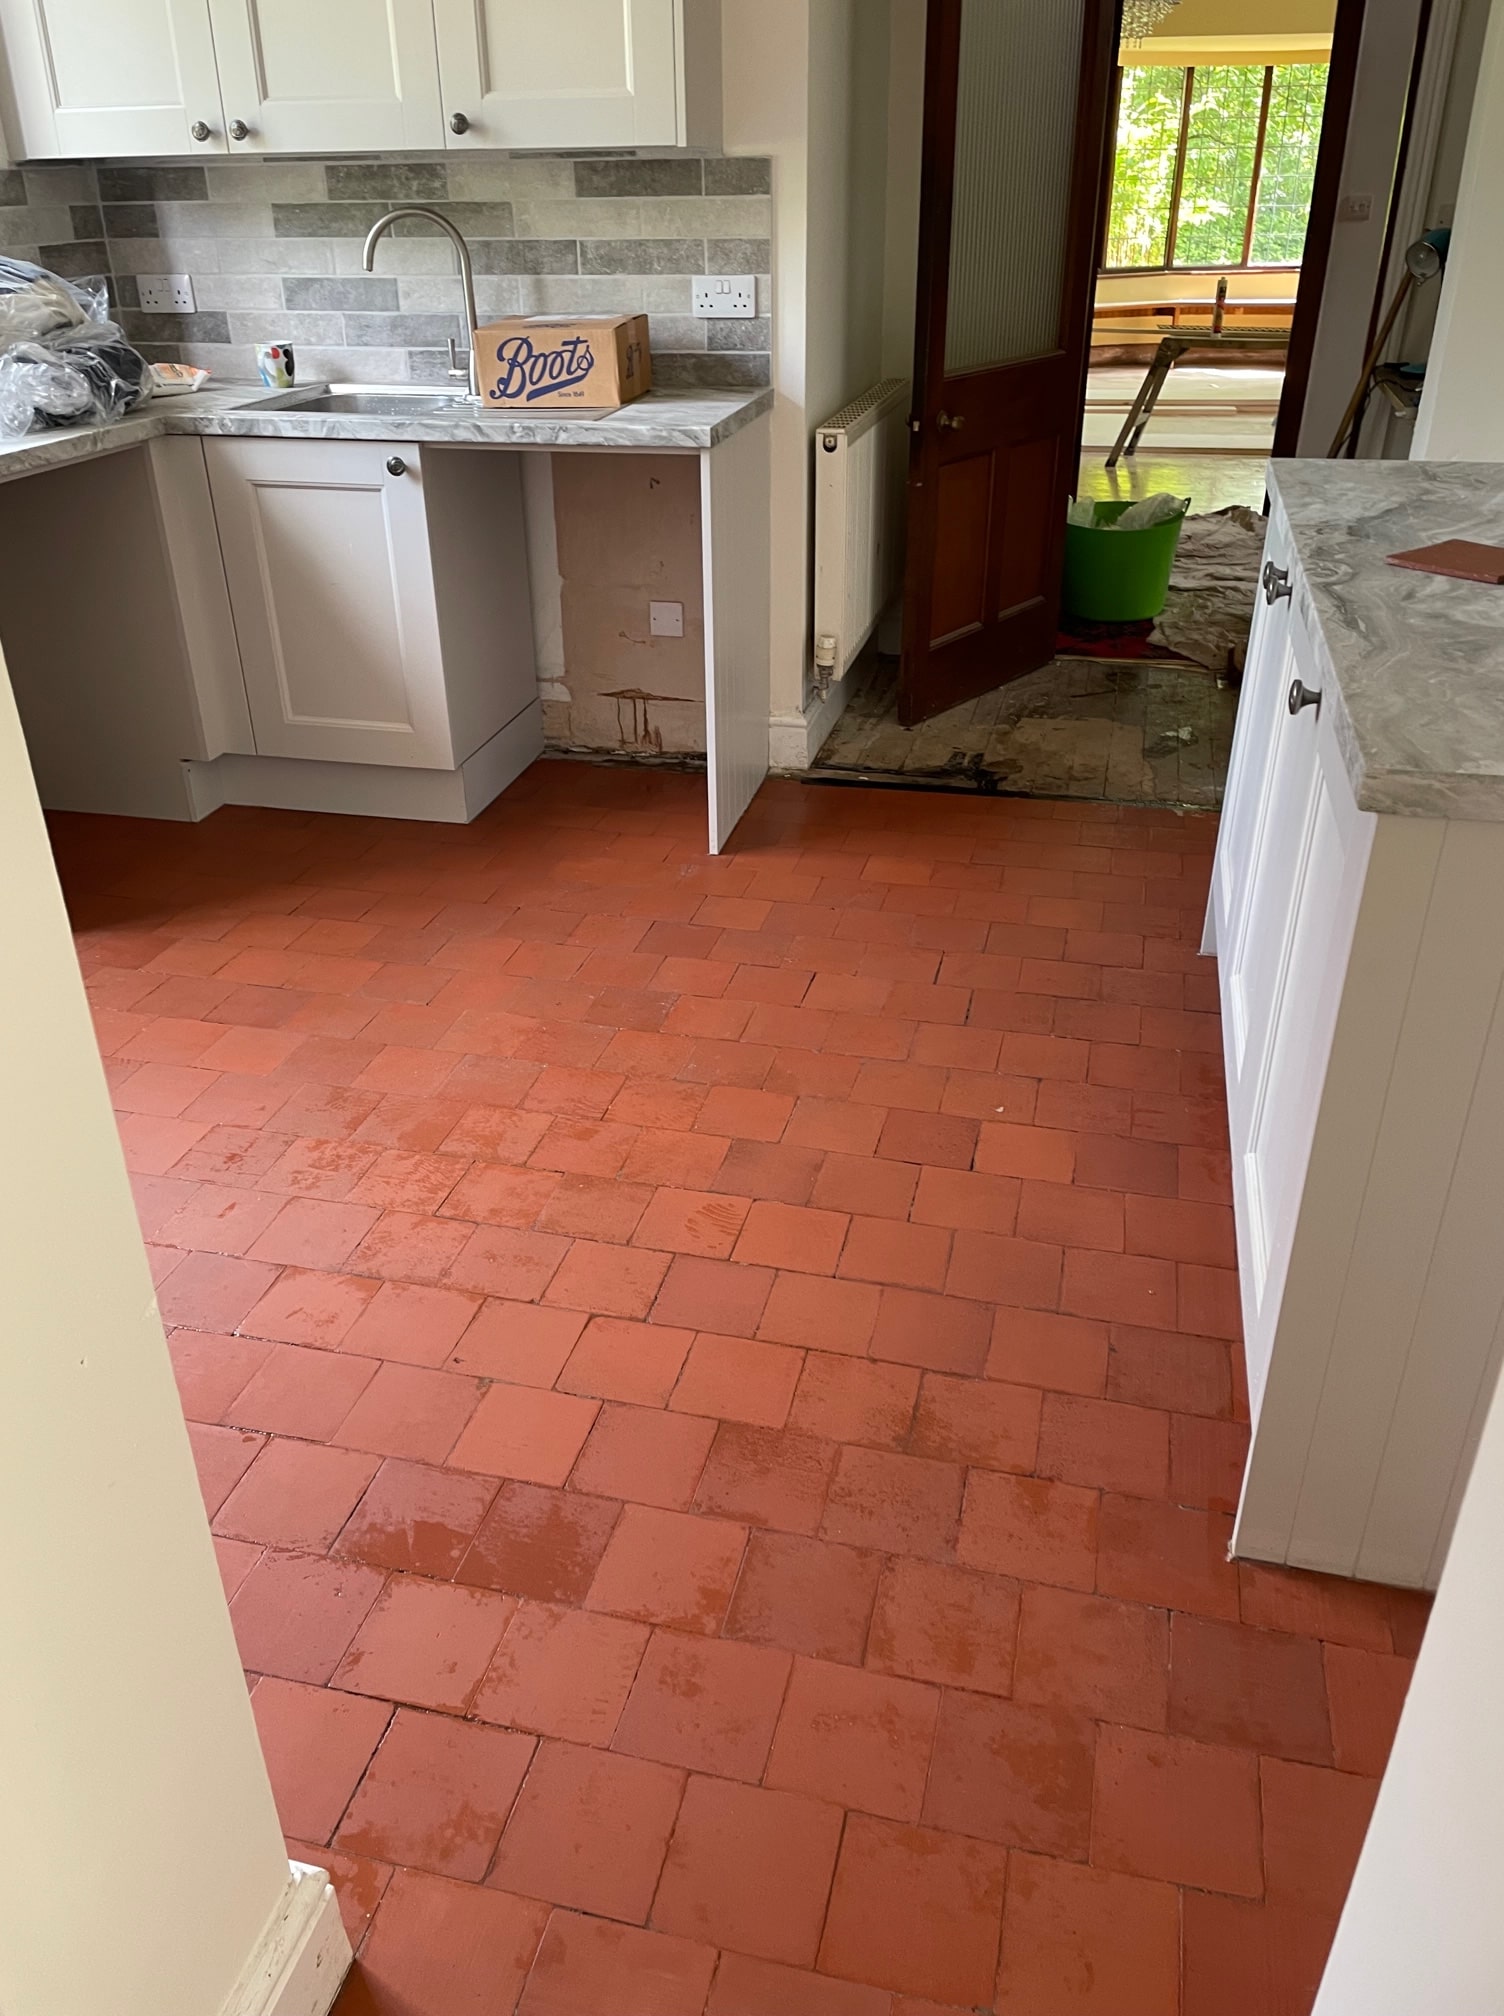
Professional Restoration of a Victorian Tiled Kitchen Floor in Cumbria
6-inch Red Victorian Floor Tiles Renovated in a Windermere Kitchen Read More »


