Maintaining a Victorian Tiled Hall Floor at a Stately Home in Bowness
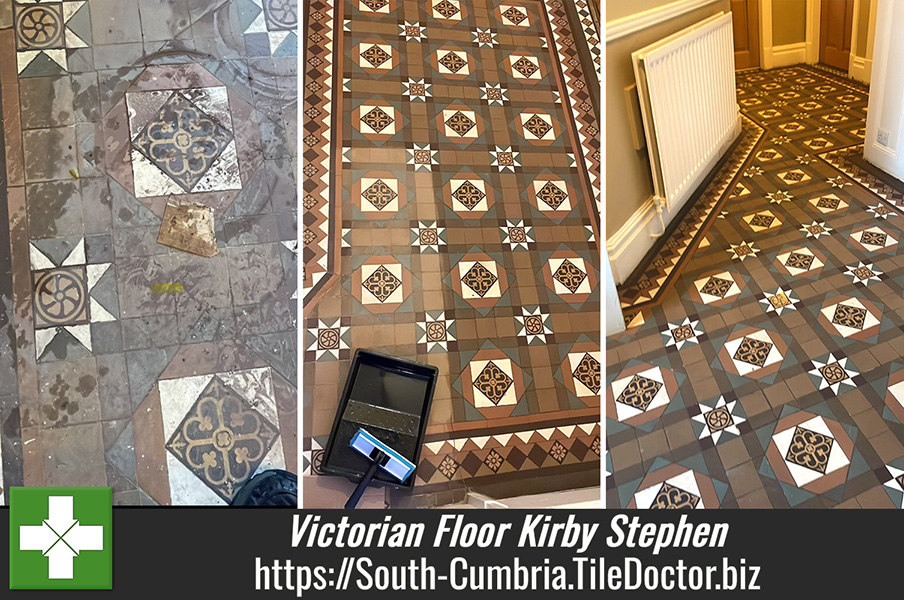
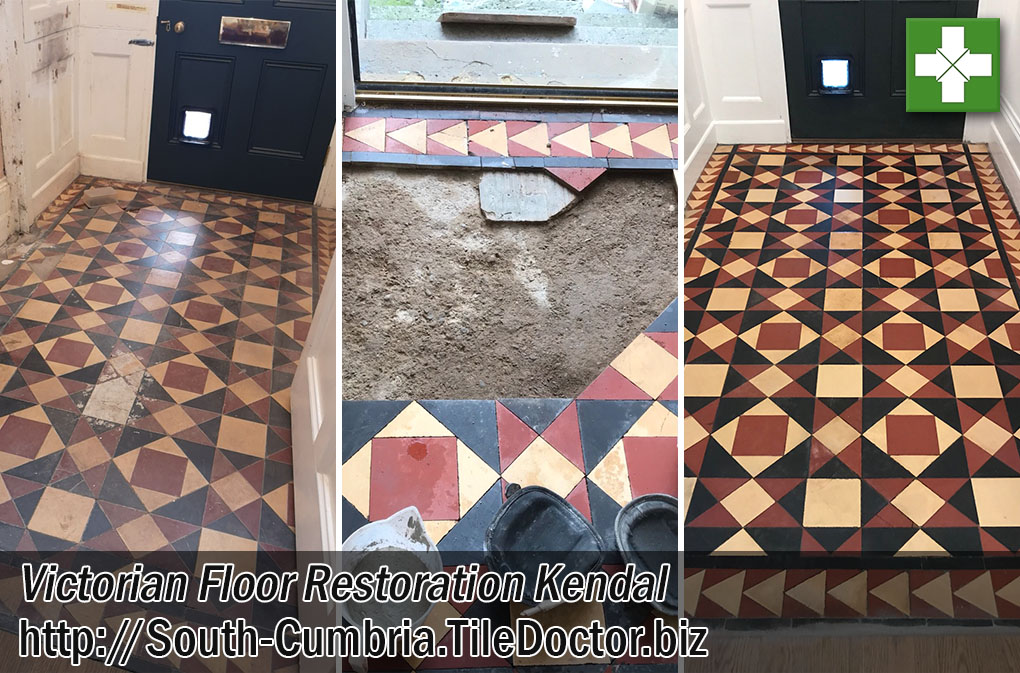
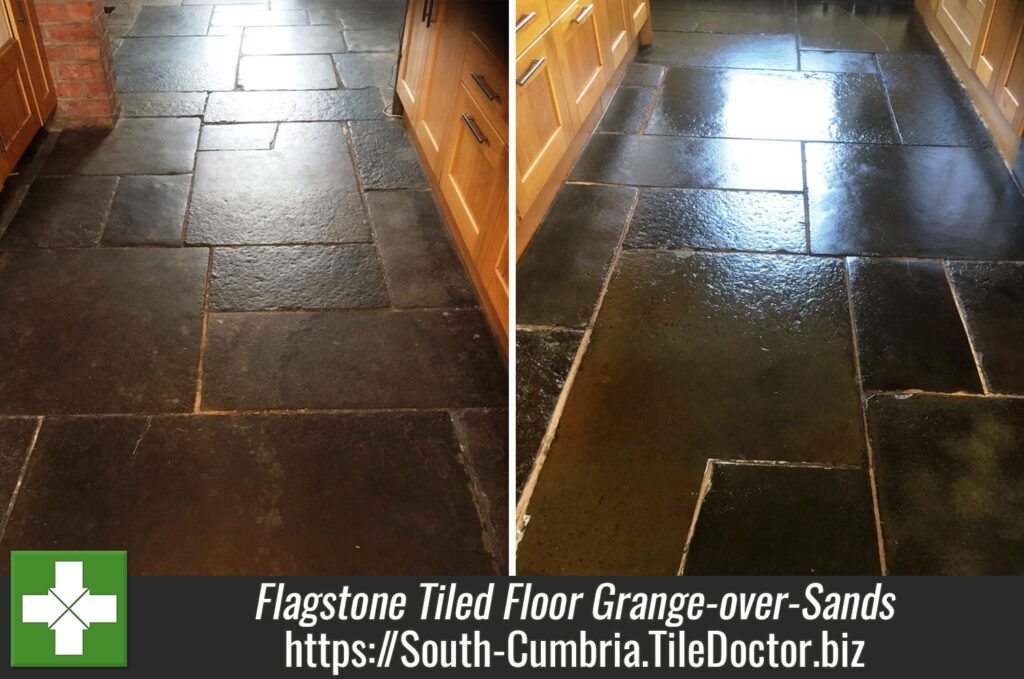
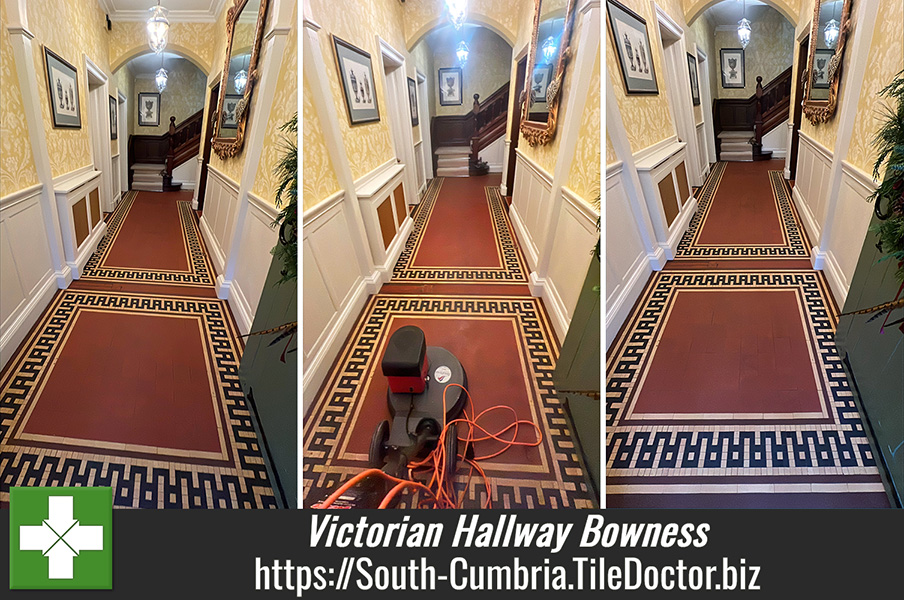
Recently I paid a visit to a client who lived in an impressive stately home near Bowness on Windermere and had asked for help renovating the Victorian tiled hallway floor. It was a very grand property and the hallway floor mainly consisted of red clay tiles with a decorative cream and black tile border.
 |
 |
After inspecting the floor, I could see it was in excellent physical condition for its age, it just needed a deep clean to flush out ingrained dirt and then sealing to protect it. There were also a few stains that were mainly visible on the cream tiles that would need spot cleaning to get the best out of them. After discussing the clean and seal process I worked out a detailed quote which was accepted and then it was just a question of agreeing a start date.
Cleaning a Victorian Tiled Hallway
Four weeks later I returned to begin the project which started with adding protection to the impressive and beautiful wooden skirting and door surrounds that were a feature of this period property.
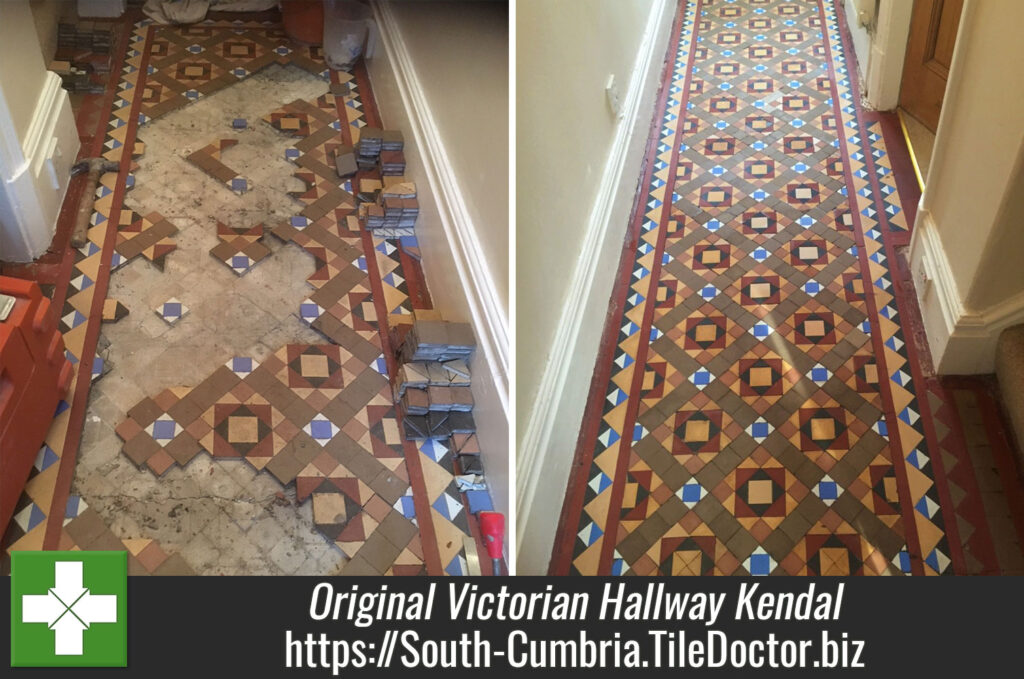
With the protection in place, I began the cleaning with a vacuum of the floor to remove any surface grit. A strong dilution of Tile Doctor Pro-Clean was then sprayed onto the tiles and left to dwell and soak in for twenty minutes. This gives the product time to soak into the tile and break down the dirt. The tiles were then scrubbed with a rotary floor scrubber fitted with a 200-grit diamond pad. This action pulls the dirt out of the tiles and any remaining sealer; the diamond pad is also good at removing surface marks. Once done the floor was rinsed with water and the soiled solution extracted with a wet vacuum.
 |
 |
The pad can struggle to have an effect in the doorways and edges so for this I use a 200-Grit Diamond hand burnishing block and more Pro-Clean. It was needed as they were particularly ingrained and needed further attention. Again, once done the soiling was removed using the wet vacuum.
Next step was to give the floor an acid wash using Tile Doctor Grout Clean-up which further cleans the floor by removing any mineral based staining such as grout smears and plaster cement leaving the tiles really clean. Being acidic it also neutralises alkaline salts which are a common problem for these old Victorian tiled floors which don’t have a damp proof membrane. Finally, this this product also helps the sealer to achieve a better contact with the tile. Once done, the floor was rinsed with water and then dried as much as possible using the wet vacuum.
Sealing a Victorian Tiled Hallway
The following day I returned to seal the floor and started by taking moisture readings from the tiles. A damp meter is used for this and is needed to confirm the tiles are dry enough to accept a sealer, applying a sealer to damp tiles can result in a patchy appearance.
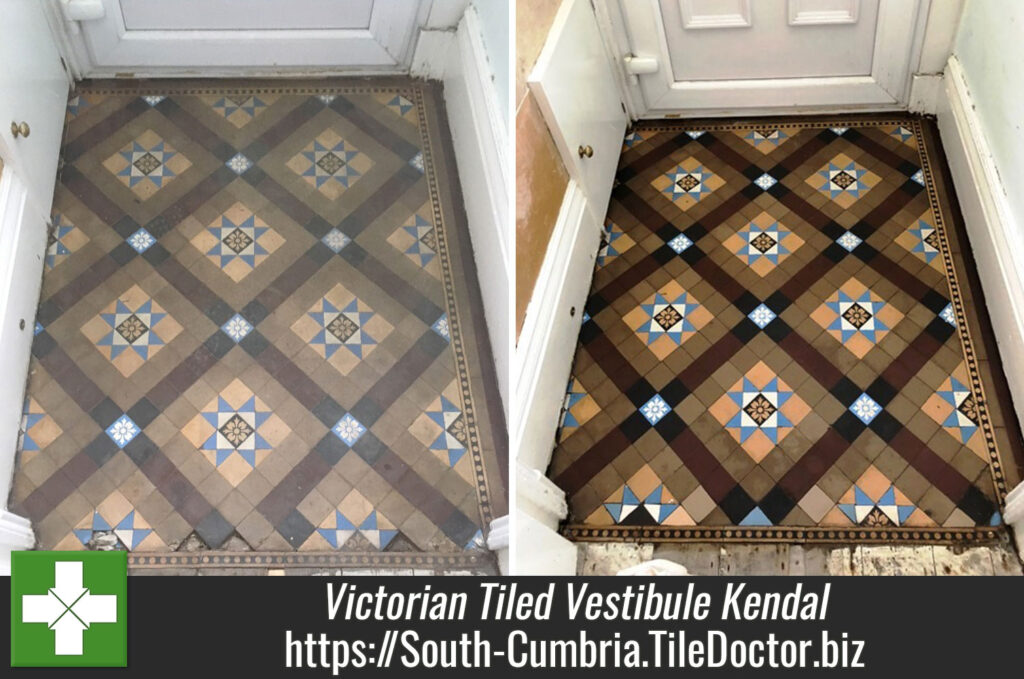
The client had previously requested a low sheen finish, so I recommended we apply Tile Doctor Colour Grow which is a matt sealer that improves colour and results in an appealing subtle finish. Five coats of sealer were needed to ensure the tiles were fully sealed as confirmed by performing a water test.

It’s difficult to see the improvement from the photos as red tiles hold the dirt quite well however you should be able to see a difference in the lighter borders. I was certainly happy with the result, and my client was equally pleased.
For aftercare I recommended the use of Tile Doctor Neutral Tile Cleaner which is a mild but effective tile and grout cleaner that won’t impact the sealer. Stronger bleach-based products will prematurely erode the sealer and are best avoided.
Professional Restoration of a Victorian Tiled Hallway in South Cumbria
Maintaining a Victorian Tiled Hall Floor at a Stately Home in Bowness Read More »