Black Pad

Terracotta Tiled Floor Renovation Hawkshead

Terracotta Tiled Flooring Stripped and Sealed in Hawkshead

The client from Hawkshead had used Tile Doctor previously to renovate a Terracotta tiled floor. Now eleven years later the floor needed attention again and so I went over to the property to survey the tiles and get a good understanding of any issues and requirements.

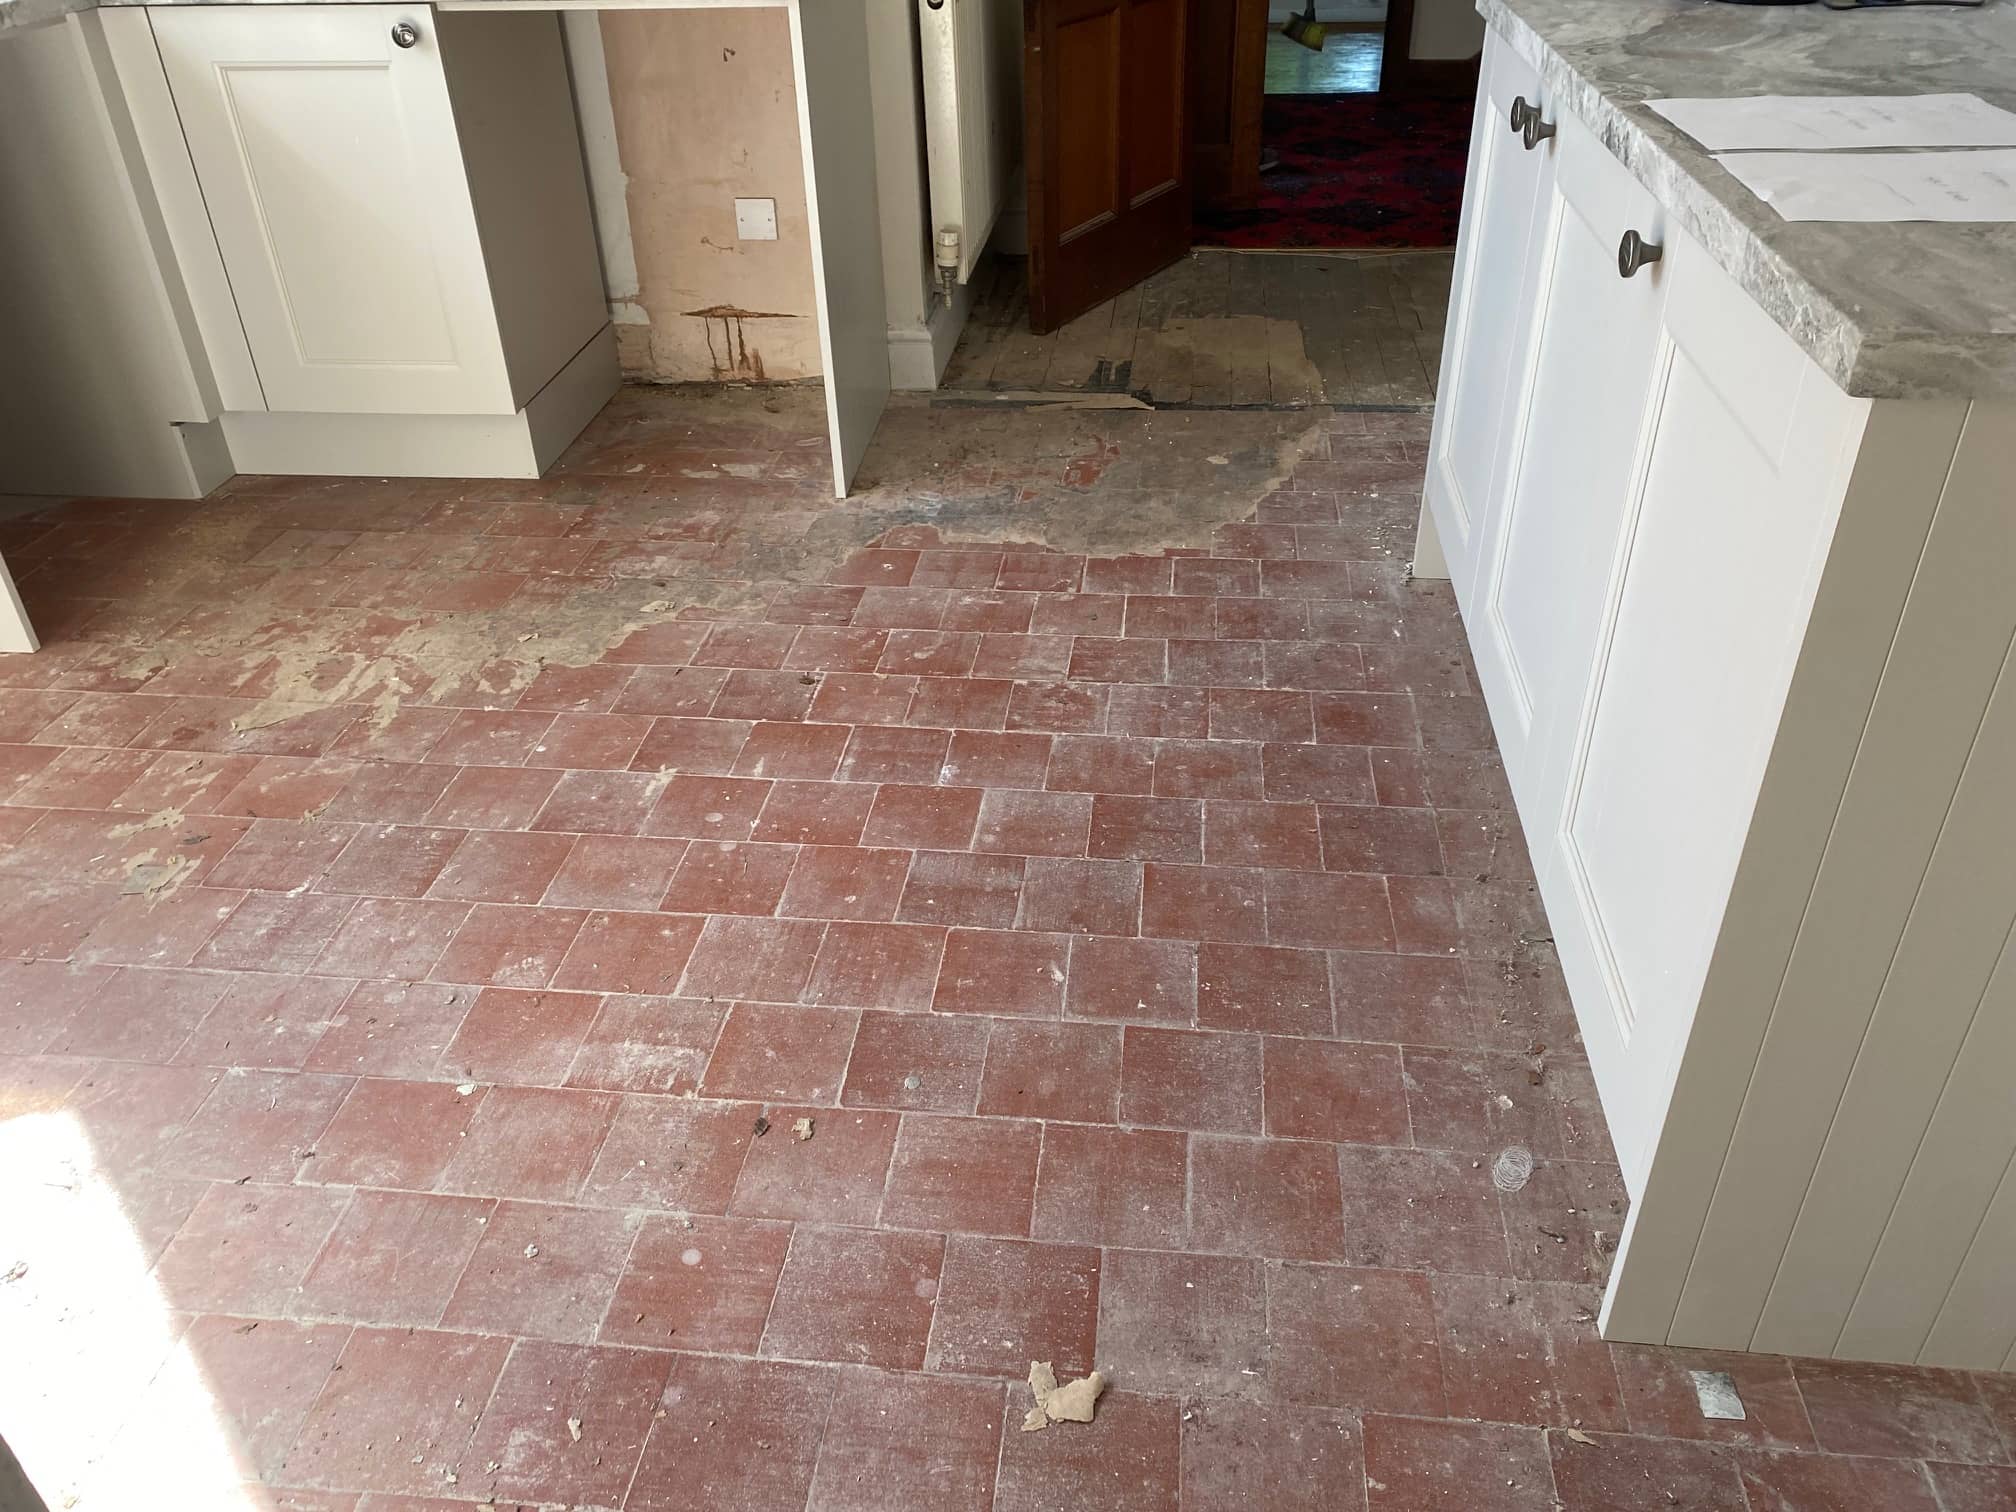
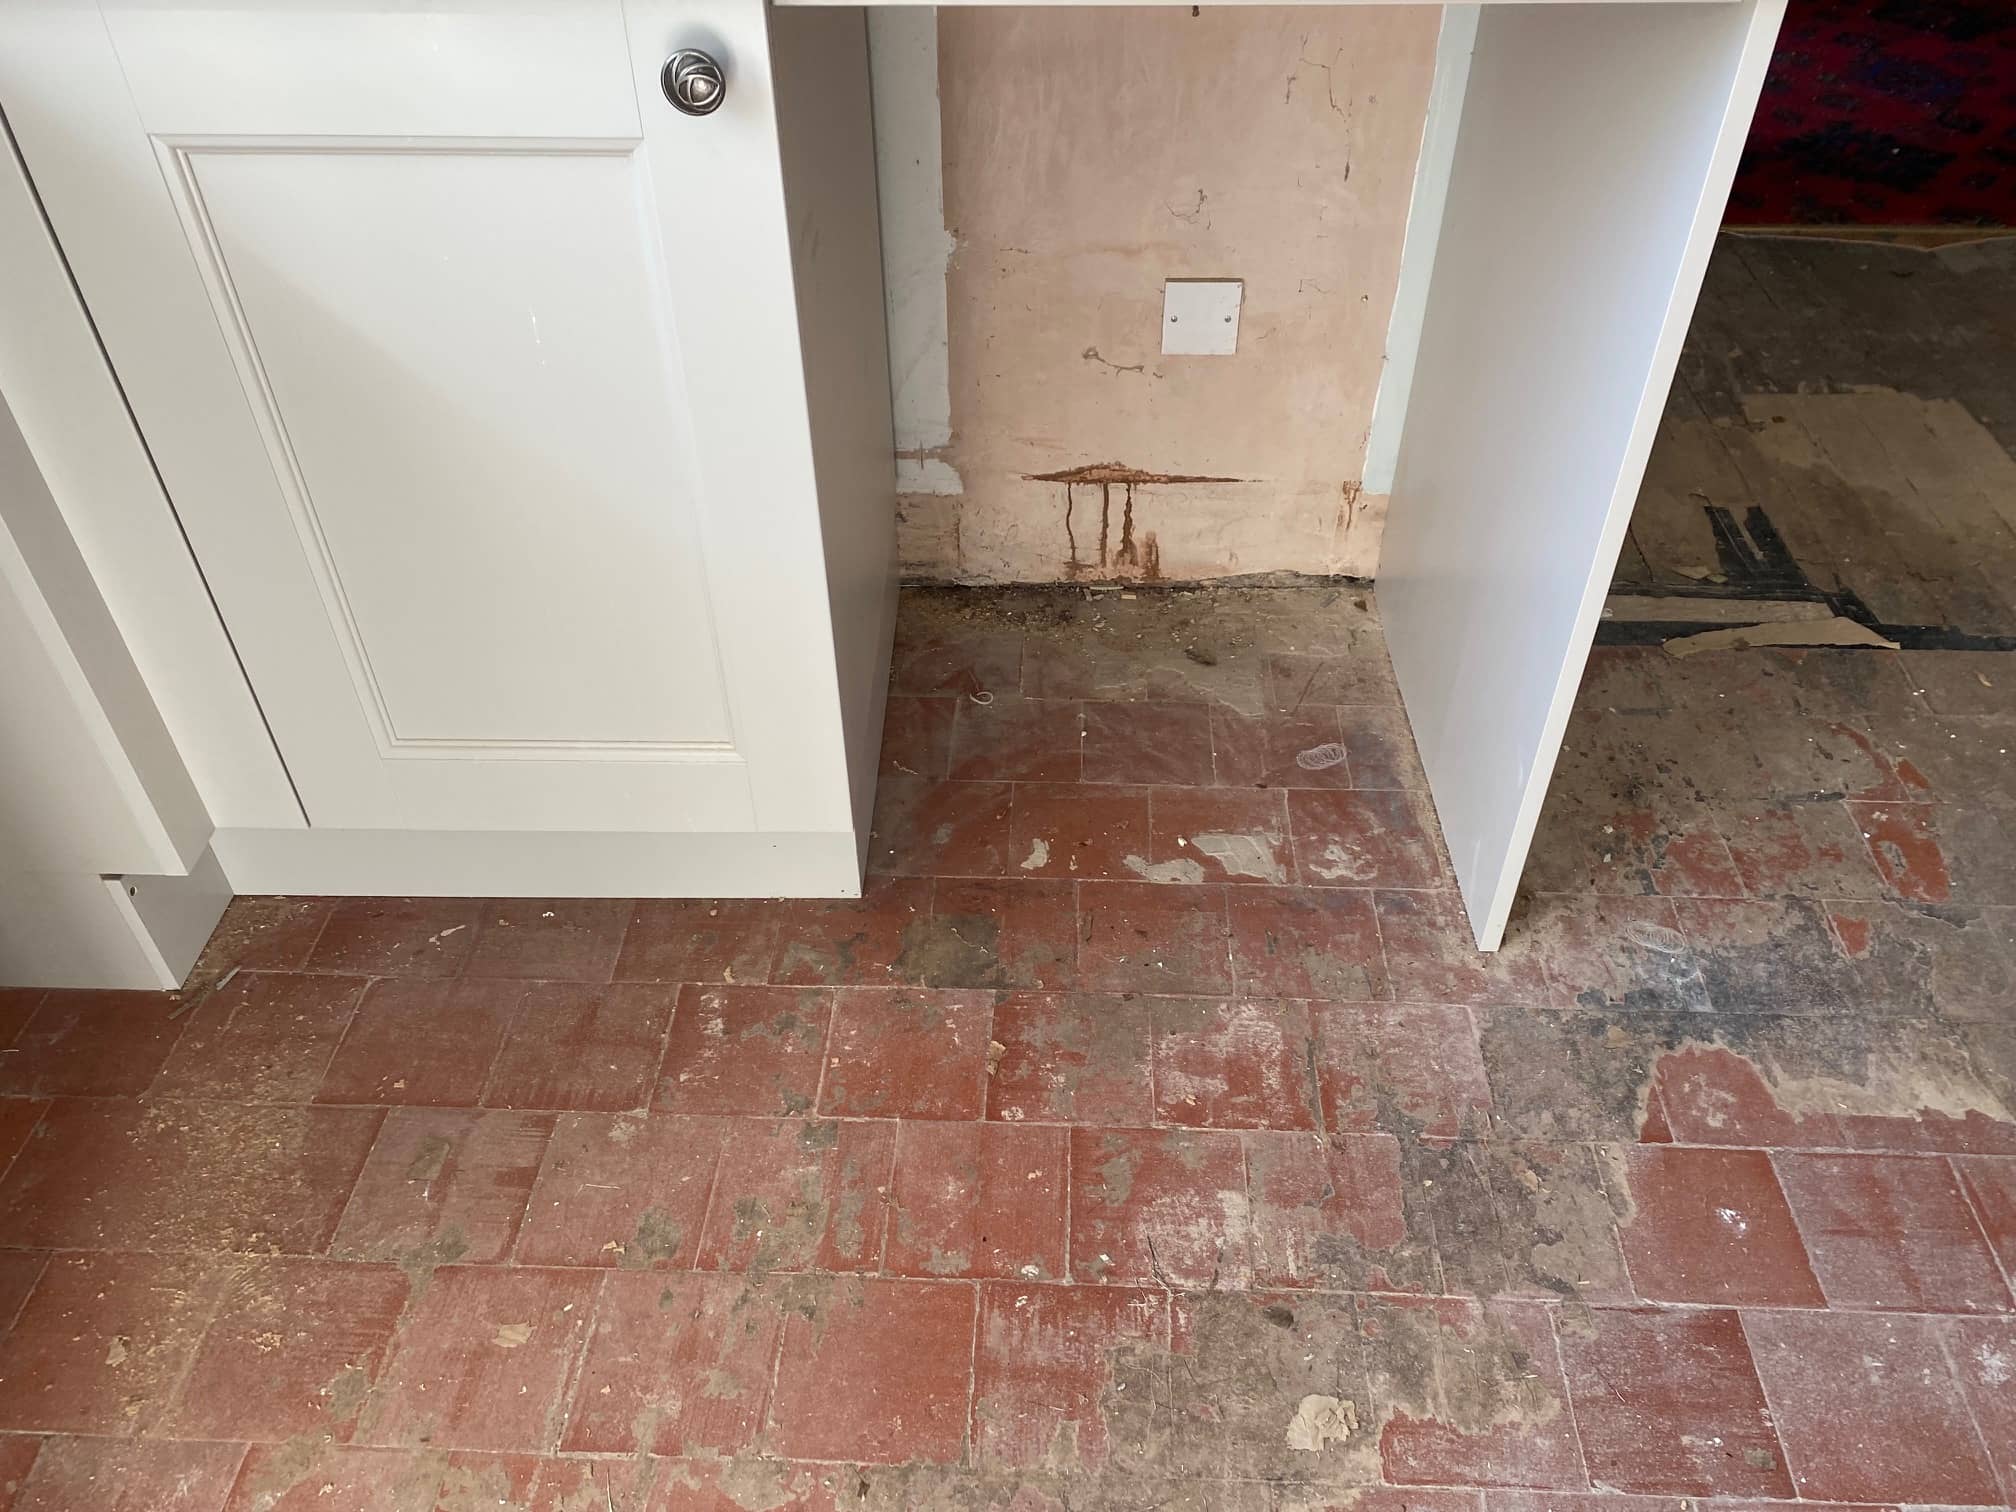
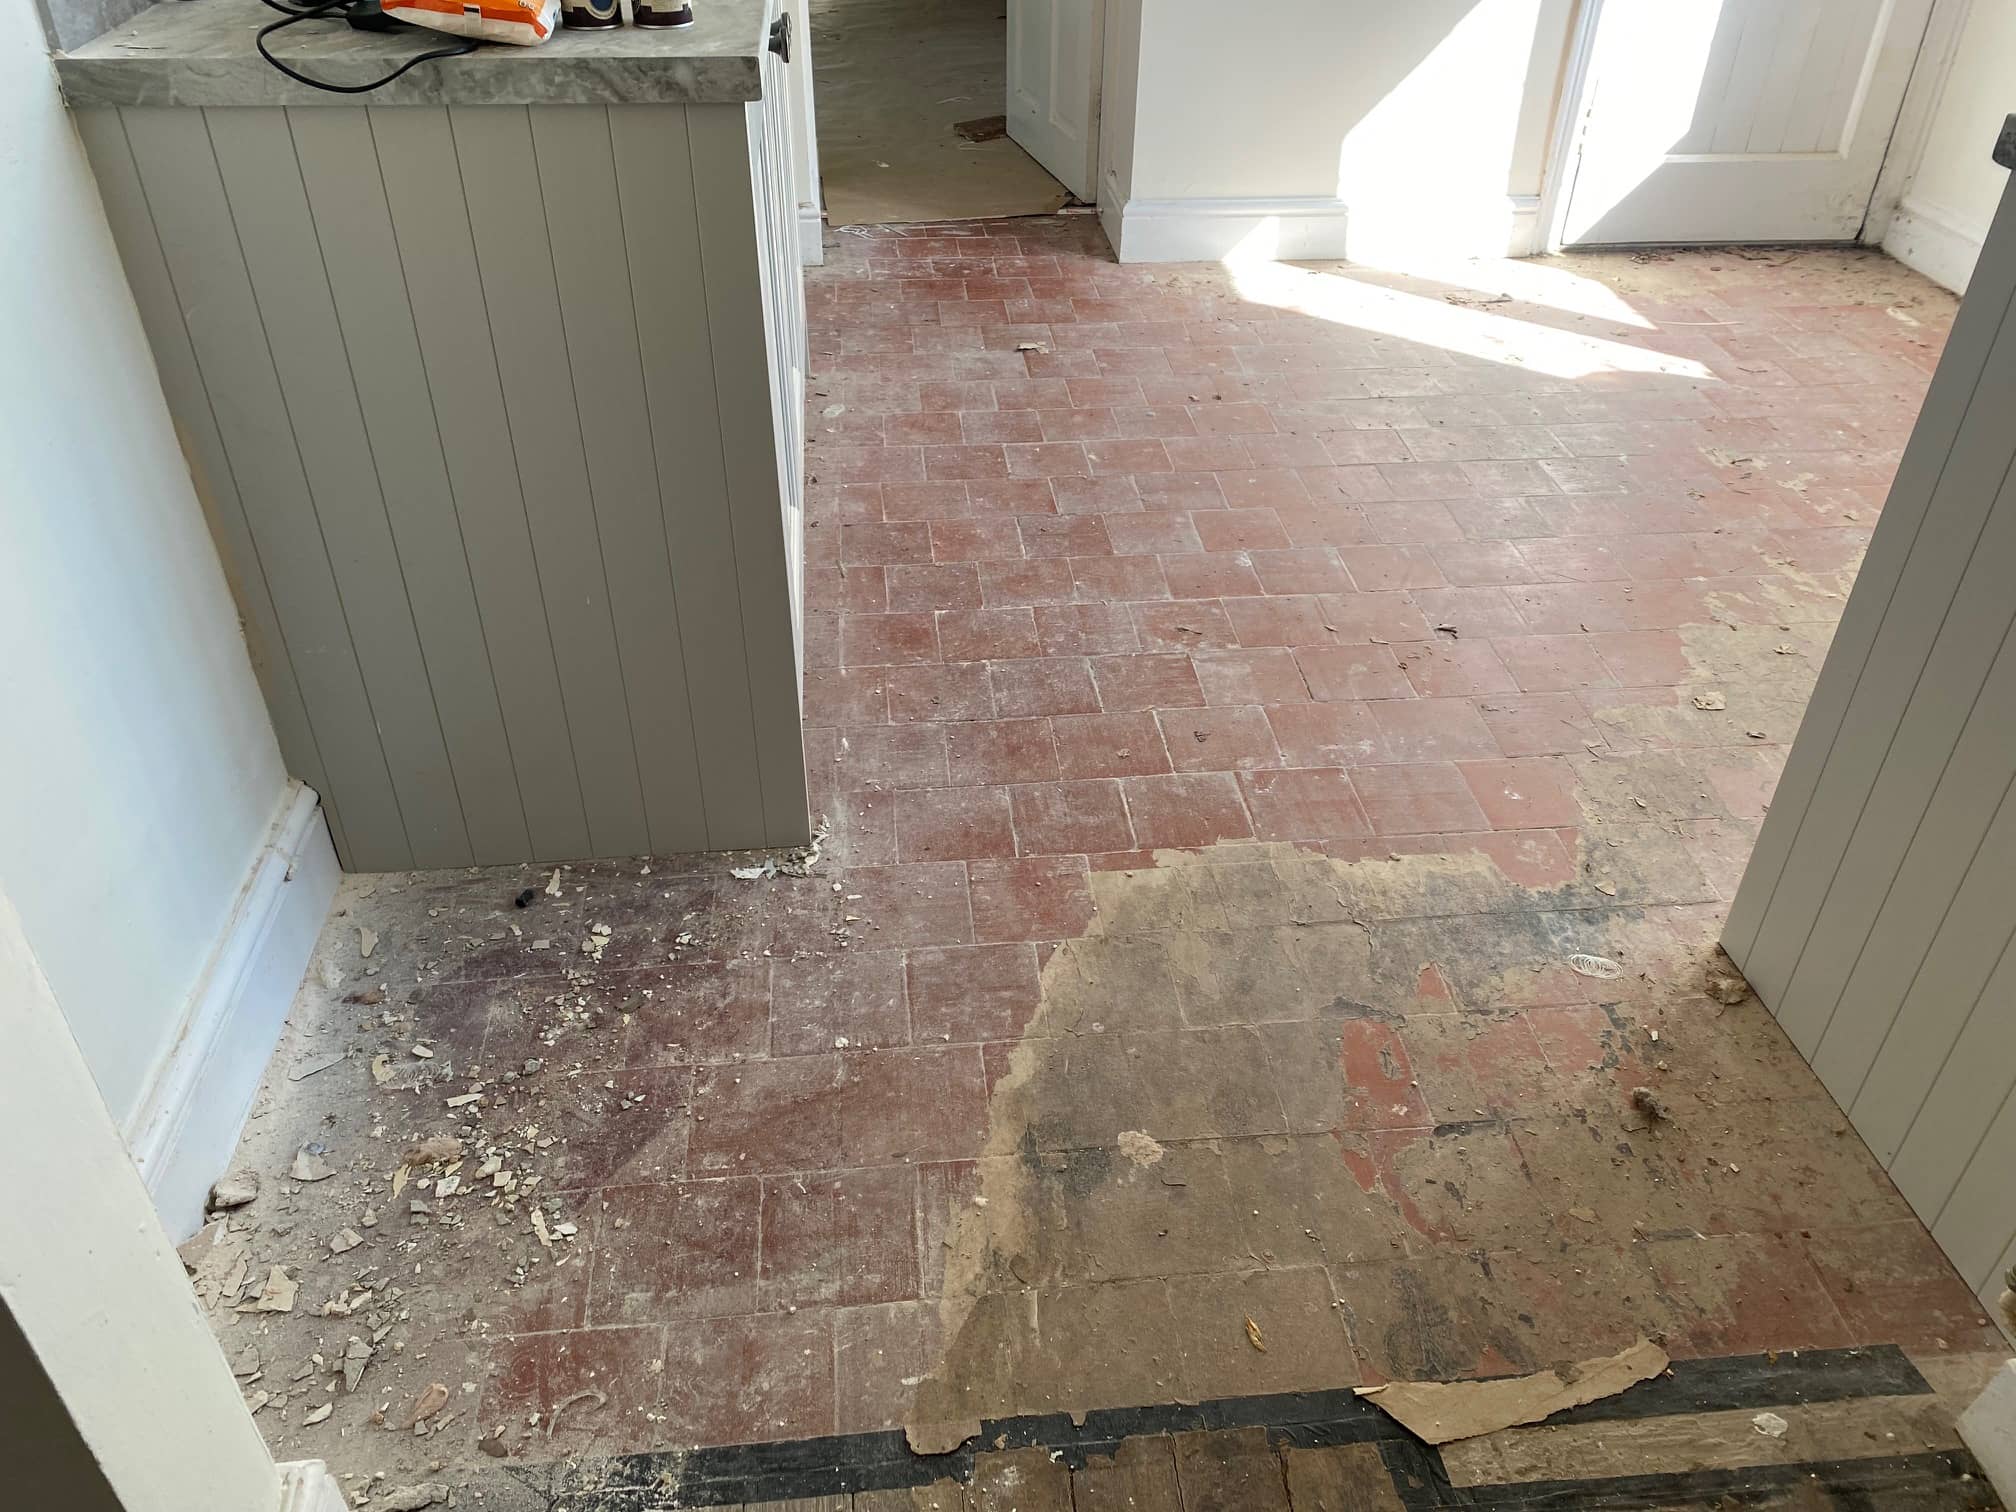
I went out to the client to assess the floor and could see the sealer had all but gone and dirt was becoming ingrained in the Terracotta. It turns out the client had been using flash floor cleaner which has a PH over 12 making it a strong alkaline and similar in PH to our own product Remove and Go which we use for stripping sealers off floors.

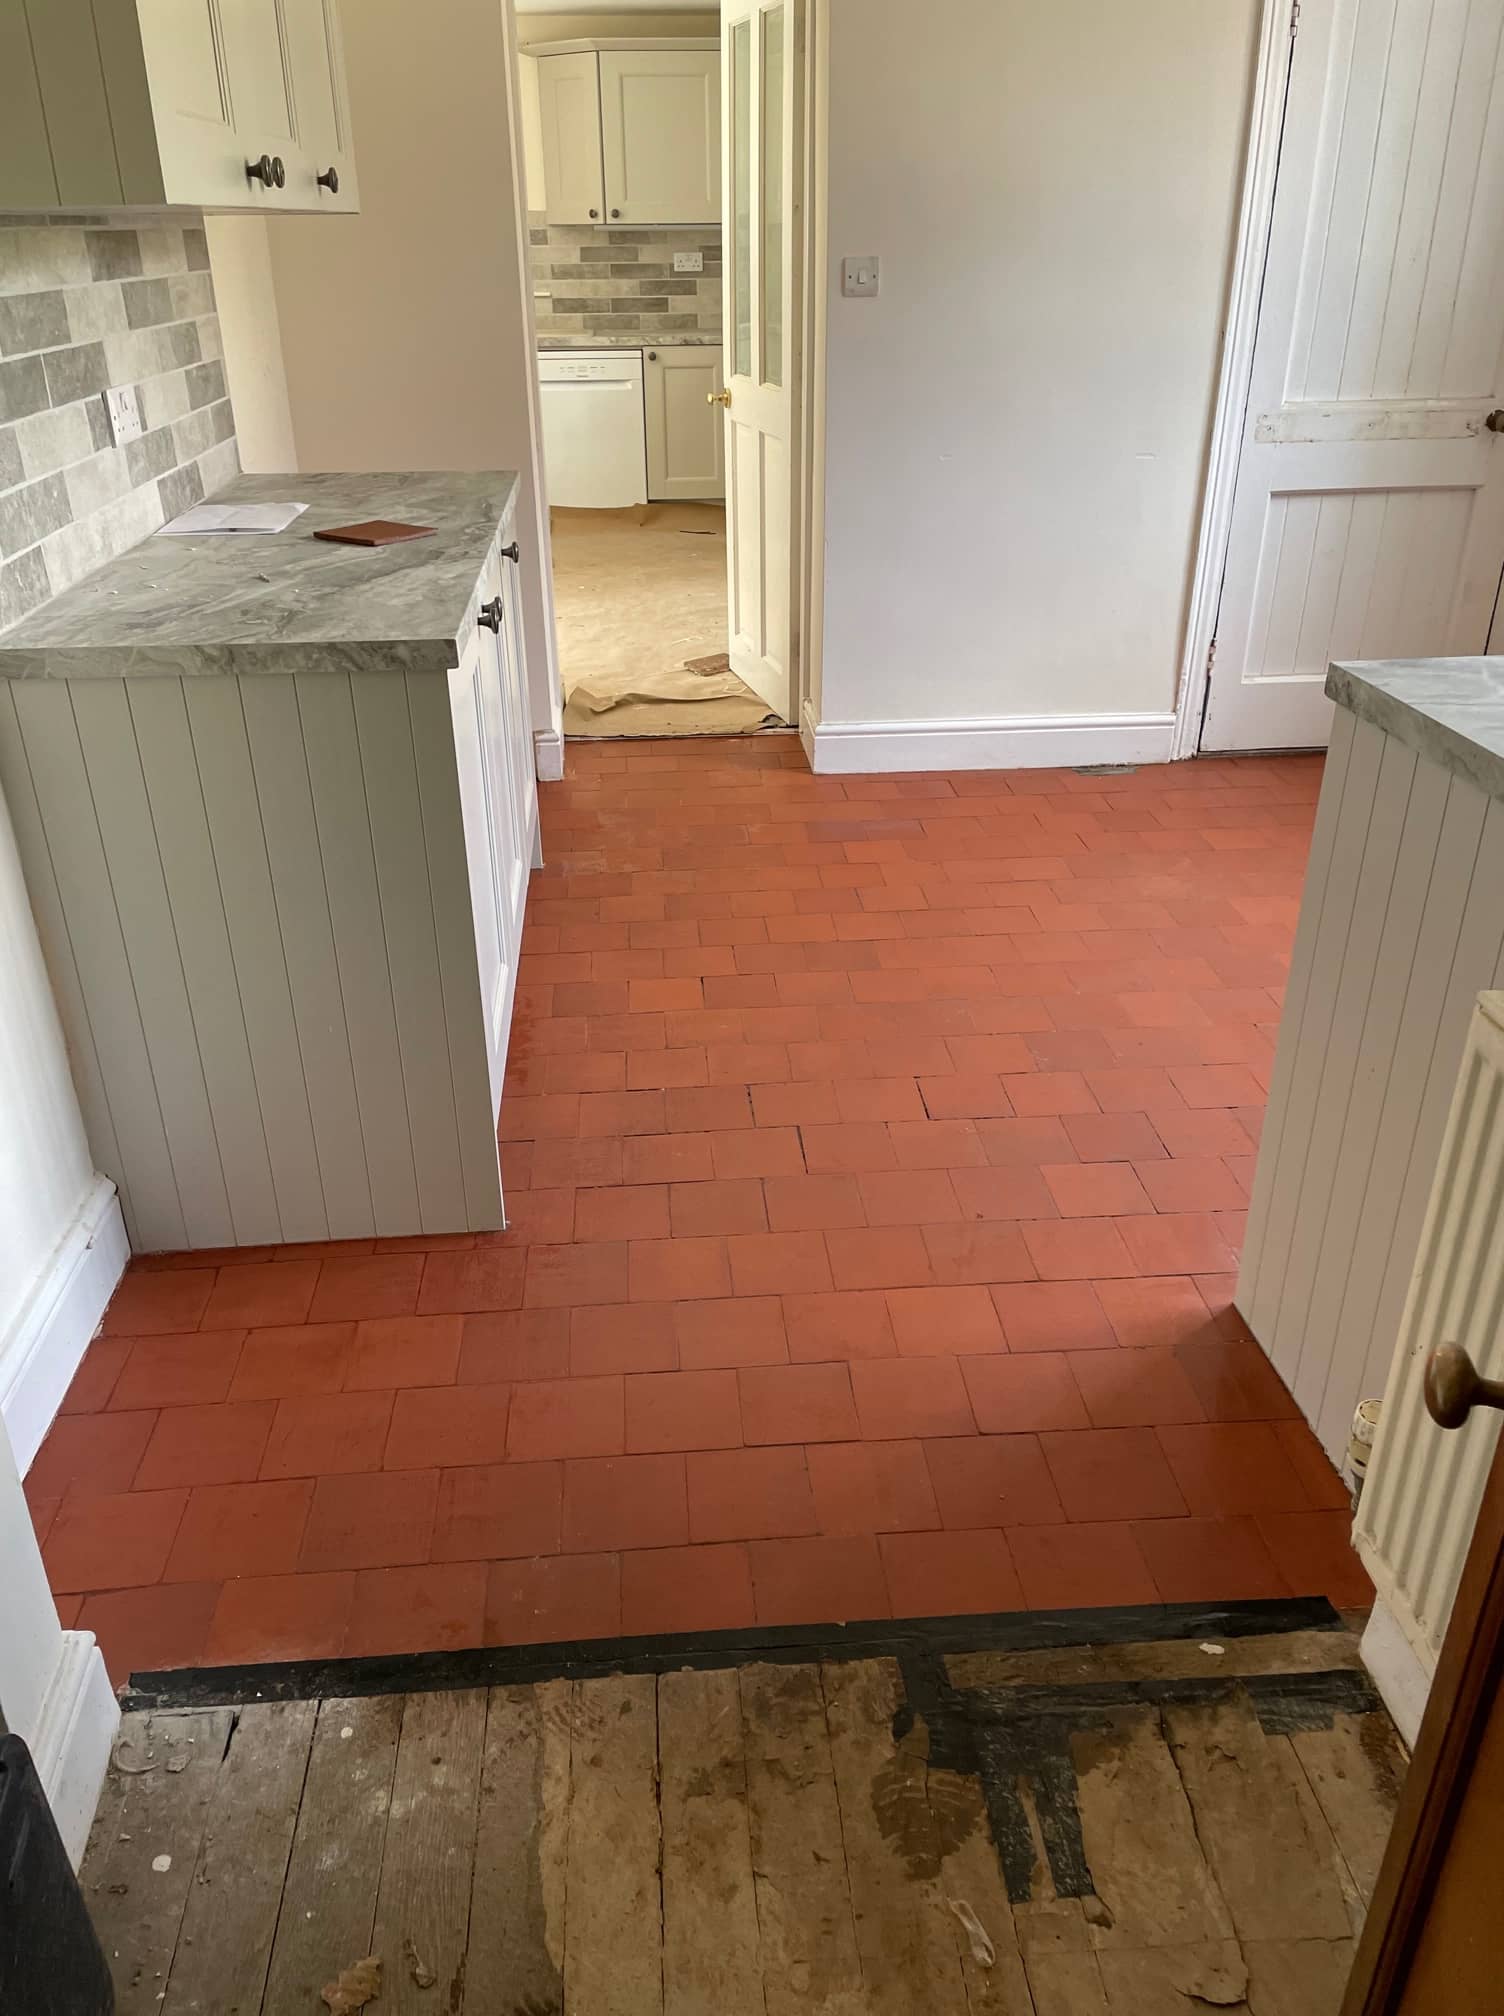
Terracotta Floor Before Cleaning Hawkshead

After discussing the floor in detailed I proposed stripping the floor back completely to its pre-seal state, deep cleaning to flush out the ingrained dirt then and re-sealing to bring the tiles back to their best condition. I worked out a detailed quote which was accepted and a date set for the work to start two weeks later.

Cleaning a Terracotta Tiled Hallway Floor

Before stripping and cleaning time was spent adding protection to the kitchen island, skirtings, and exposed surfaces. This is necessary to prevent moisture and chemical exposure soaking into the woodwork which can result in warping and staining.

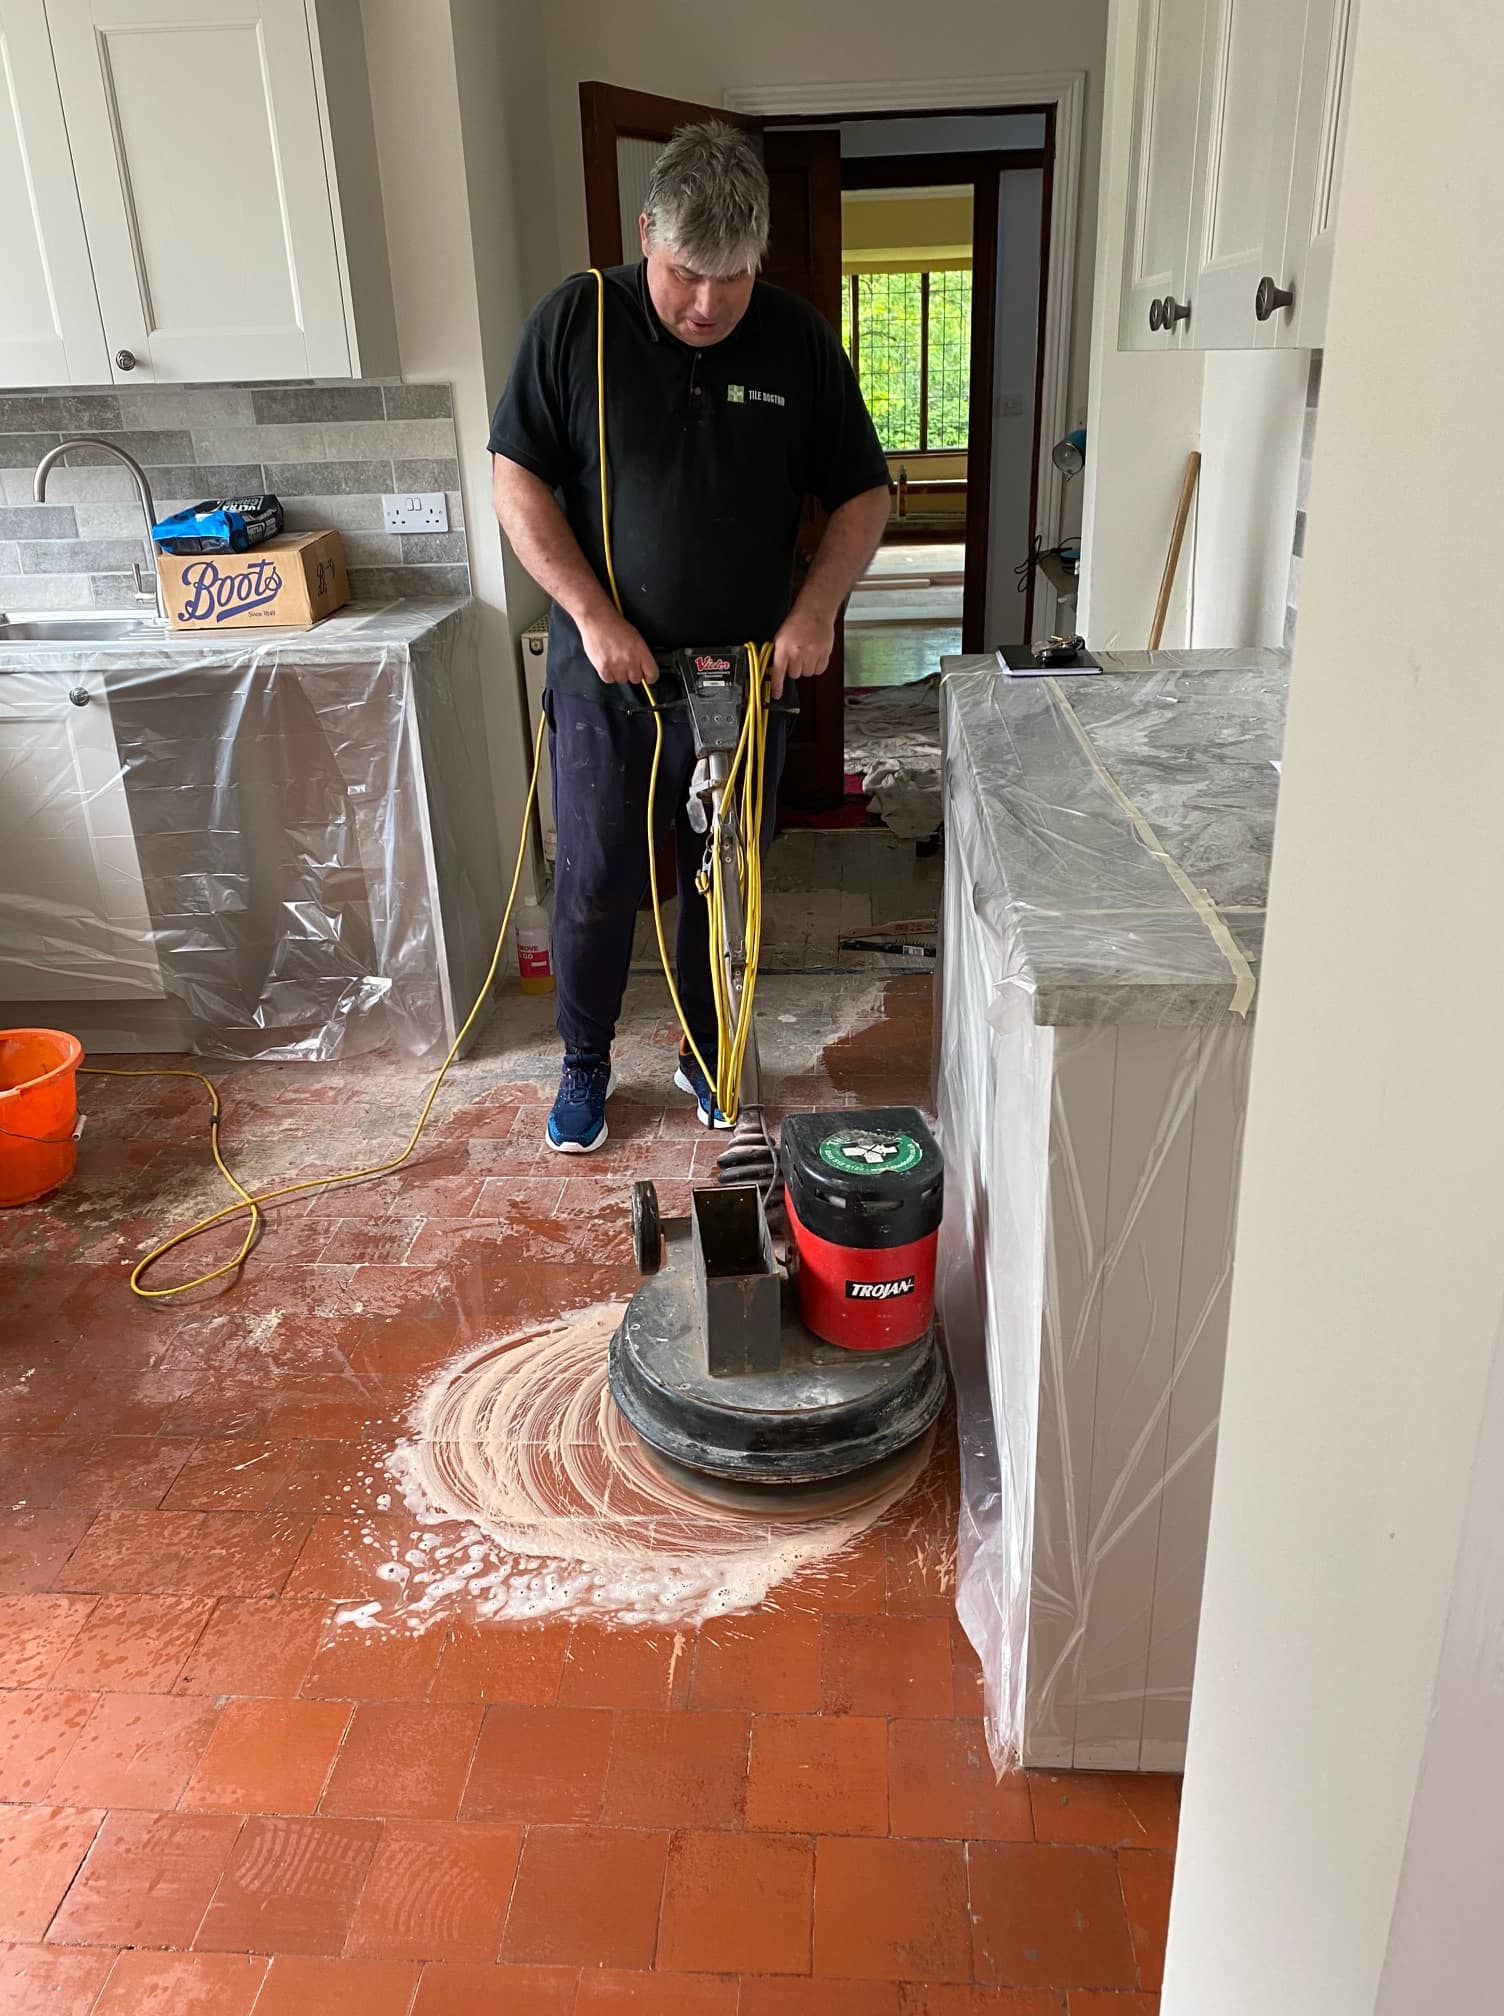
Next a strong dilution of Tile Doctor Pro-Clean was sprayed across the entire floor and after leaving it to soak in for ten minutes scrubbed into the tile and especially the grout. This product is an effective Tile and Grout cleaner and served as an initial clean to the grout and Terracotta which is very porous.

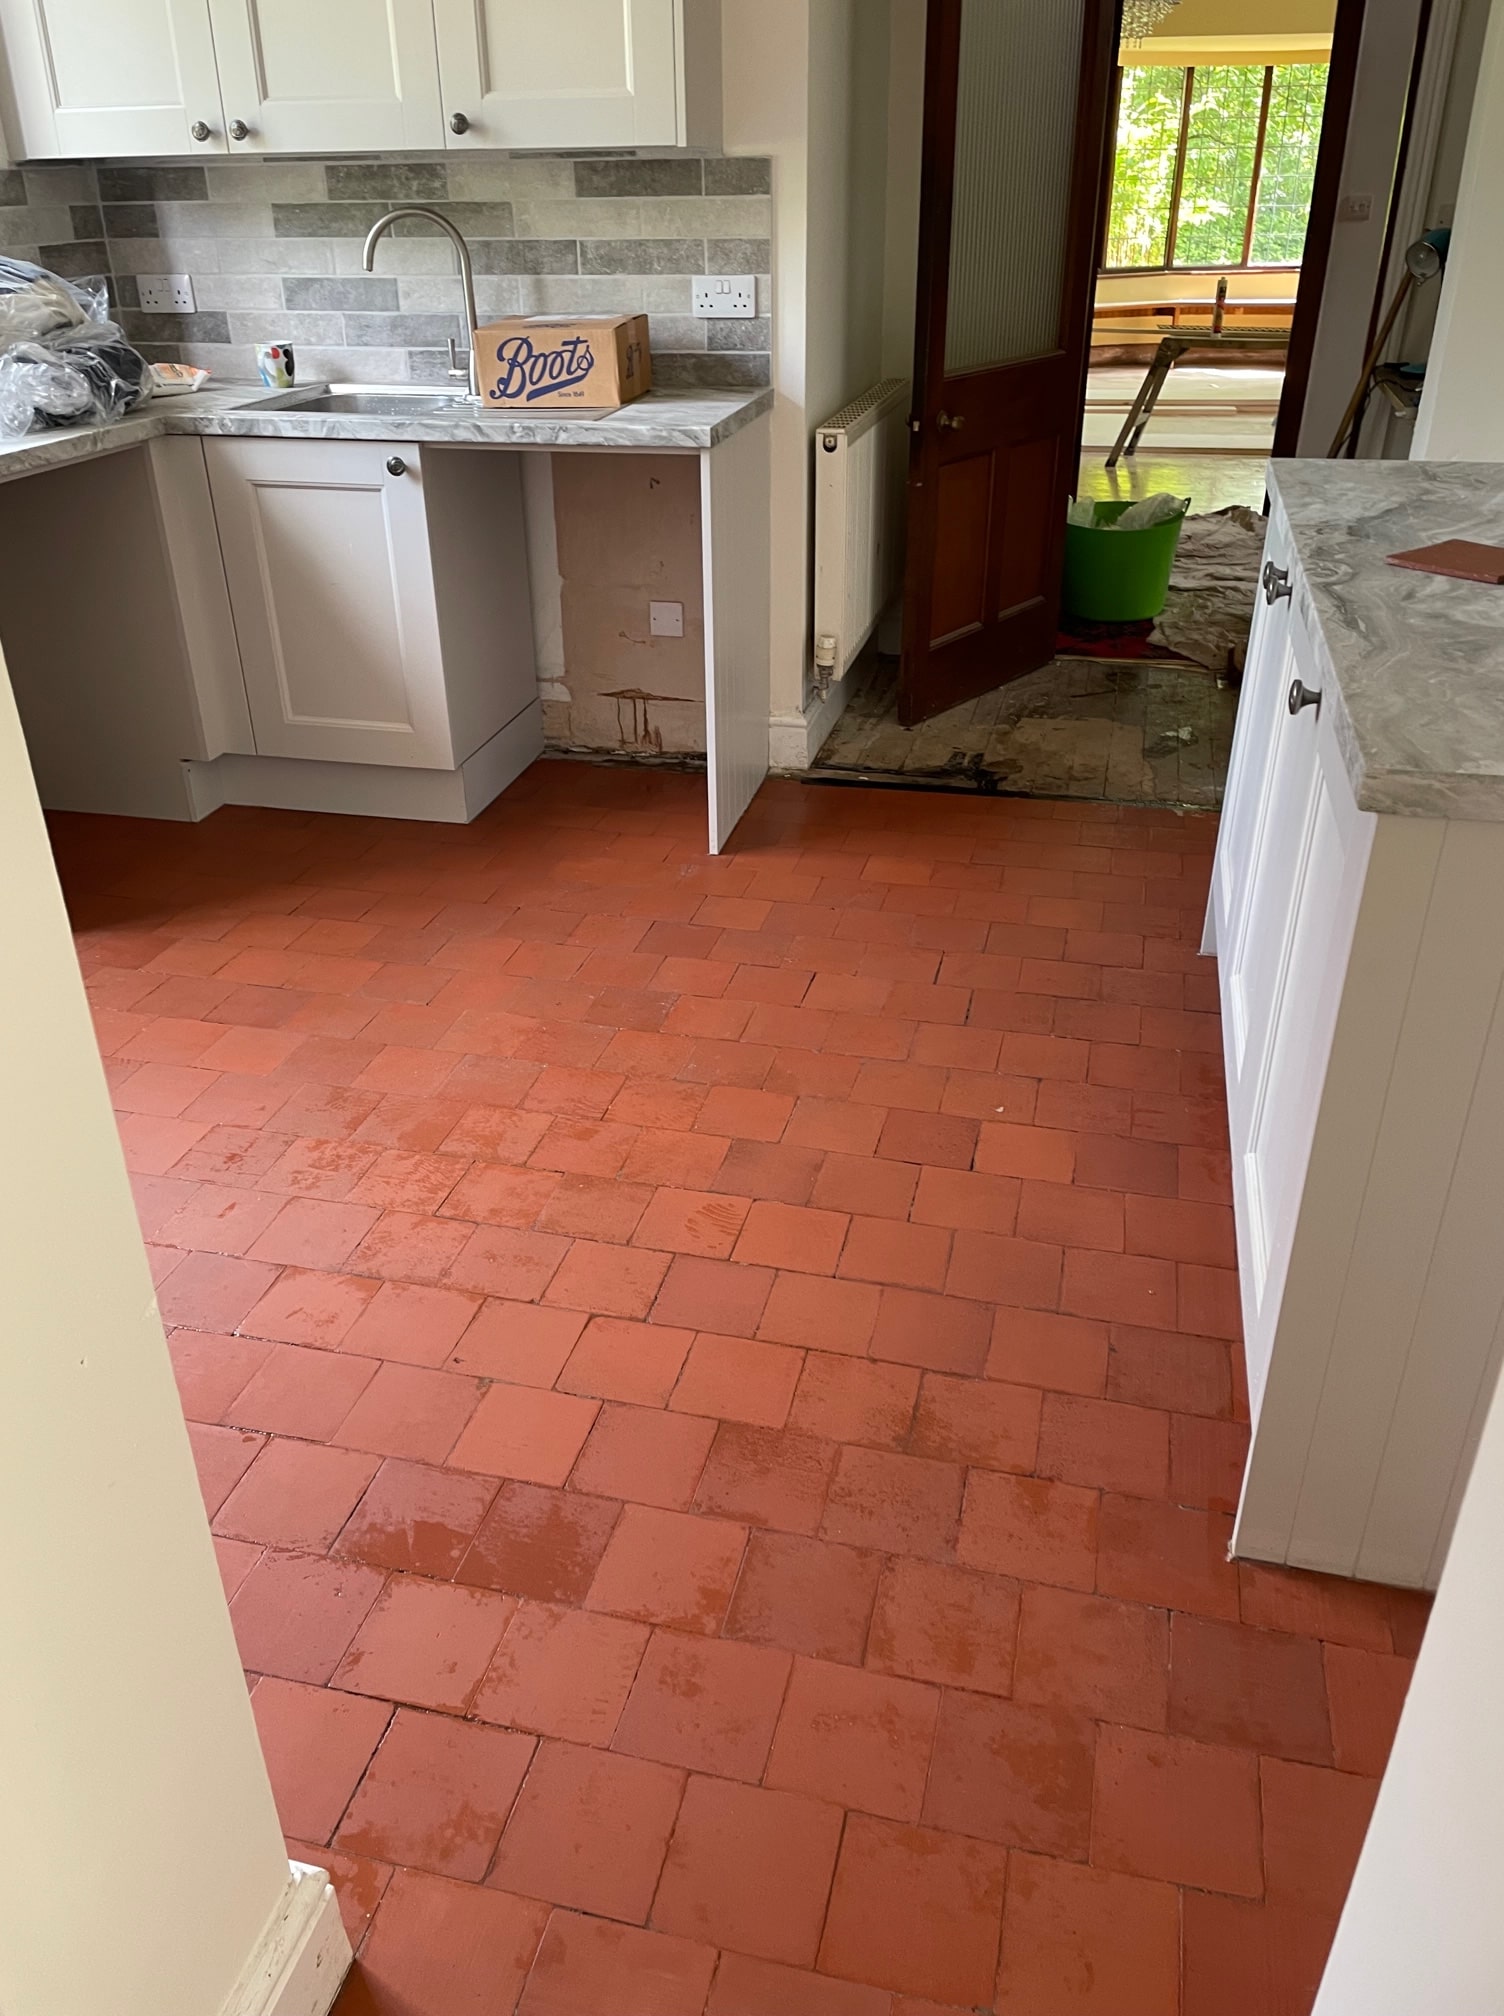
Terracotta Floor During Cleaning Hawkshead Terracotta Floor During Cleaning Hawkshead

The floor was inspected and there was still evidence of sealer in the less used areas of the floor as well as deeply ingrained grime. To deal with these problems Tile Doctor Remove and Go was sprayed onto the problem areas and left to soak in as before. After ten minutes the solution was agitated using a deck brush and then worked into the Terracotta using a rotary scrubber fitted with a black pad. Each part of the floor was scrubbed five to six times to remove any remaining sealer and release the dirt. Afterwards the floor was rinsed with water and the soiling extracted with a wet vacuum and at this point you could really see the true colours of the Terracotta.

Next step was to give the tiles and acid wash using Tile Doctor Acid Gel which applied to the tiles and diluted with water whilst being brushed into the tiles. This removes residues, mineral deposits, old grout smears and remaining contaminants. Being acidic it neutralises the floor after the alkaline cleaning products used earlier. After being allowed to dwell briefly it was then removed using the wet vacuum. The floor was then rinsed with water and extracted again to remove any trace of product prior to the next step of sealing.

Sealing a Terracotta Tiled Hallway Floor

I left the floor to dry out overnight with multiple floor fans to accelerate drying and returned the next day to seal the floor with Tile Doctor Colour Grow. This product is an impregnator that soaks into the pores of the Terracotta and acts as a barrier to prevent dirt from becoming ingrained there. It also contains a colour enhancer that really works well on Terracotta to bring out the natural red and orange colours in the tile.

Once that Colour Grow had dried which leaves a matt finish, I completed the sealing by topping it off with five coats of Tile Doctor Seal and Go which adds a nice subtle shine to the tile. When complete the floor looked so much better with improved colour and depth and a lovely silky appearance.

Terracotta Floor After Cleaning Sealing Hawkshead Terracotta Floor After Cleaning Sealing Hawkshead

The outcome was very satisfactory and the client was extremely pleased with the result and the floor was ready in time for Christmas guests. For aftercare I recommended Tile Doctor Neutral Tile Cleaner which is a mild yet effective cleaning product that won’t affect the sealer.


Professional Renovation of a Terracotta Tiled Flooring in South Cumbria

Terracotta Tiled Flooring Stripped and Sealed in Hawkshead Read More »
Encaustic Victorian Tiled Hallway Floor Restoration Kirby Stephen

Renovating an Original Encaustic Tiled Victorian Hallway Floor in Kirkby Stephen

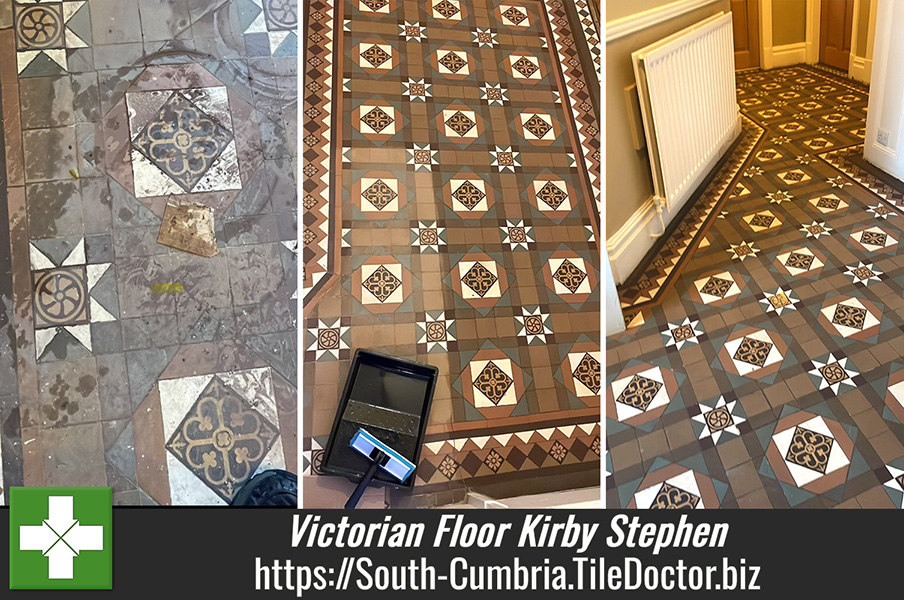
A client from Kirkby Stephen had uncovered a heavily soiled and stained Victorian tiled floor in their hallway. The tiles were clearly quote old and included some lovely, patterned tiles as part of the design which were clearly handmade encaustic tiles that must have been over 150 years old.

Encaustic Victorian Tiled Hallway Floor Before Cleaning Kirby Stephen

Keen to have the original floor restored to its full potential I was asked to call in and quote for completing a sympathetic restoration of the whole floor including cleaning and then sealing. Having inspected the floor and confident it could be restored to a very good condition I discussed the main issues and came up with a plan for the work which would be respectful of the floors age.

Happy with my plan and detailed quotation I was given the go ahead and we agreed a date for my return.

Deep Cleaning an Encaustic Tiled Victorian Hallway Floor

Before starting cleaning, protective tape was applied to the stair carpet, new oak doors, skirtings, and other surrounding surfaces. This ensures all adjacent areas are safeguarded from moisture and chemical exposure.

The property had a cellar below and I was concerned that any excess liquids used during cleaning could seep through the floor, as a result I decided to clean the floor using low moisture gel cleaning products. This involved spreading Tile Doctor Oxy-Gel across the entire floor and then allowed the product to soak in for ten to fifteen minutes. The gel was then worked into the tiles using a deck brush initially and then a rotary scrubber fitted with a black pad.

The soiling was then extracted with a wet vacuum and then repeated until I was satisfied the tiles were as clean as they could be. In-fact the floor was so dirty this process had to be repeated five to six times to lift deep-set grime and reveal the original colours of the tiles. Once done the floor was given a quick rinse with water which was then extracted using the wet vacuum.

Last step was to give the tiles an acid rinse using Tile Doctor Acid Gel which is another gel cleaner which can remove cement-based residues, mineral deposits, and other contaminants. The gel was allowed to soak in briefly before being removed using the wet vacuum.

The last step in the process was to give the floor another quick rinse to remove any trace of cleaning products and then dried thoroughly with the wet vacuum and left to dry off fully with the aid of several floor fans.

Sealing an Encaustic Tiled Victorian Hallway Floor

The next day I returned to inspect the floor and make sure it was dry using a moisture meter to confirm it was dry enough to be sealed. Sealers don’t cure well on damp floors resulting in a patchy appearance so it’s always a good idea to check for dampness first.

Encaustic Victorian Tiled Hallway Floor During Sealing Kirby Stephen

To seal and protect the Victorian tile, a couple of coats of Tile Doctor Colour Grow were applied to the floor using a paint pad applicator. Colour Grow is a fully breathable, colour enhancing sealer which soaks into the tile, occupying the pores and thereby preventing dirt from residing there. This ensures dirt remains on the surface where it can be easily cleaned away.

You can see from the photographs that the transformation was dramatic, I just wished I took more photos. Certainly, my client was extremely pleased with the final result. For aftercare I recommended they use Tile Doctor Neutral Tile Cleaner which is a mild but effective floor cleaning product that’s designed for use on sealed floors.

Encaustic Victorian Tiled Hallway Floor After Restoration Kirby Stephen Encaustic Victorian Tiled Hallway Floor After Restoration Kirby Stephen


Professional Renovation of a Victorian Tiled Hallway in Cumbria

Renovating an Original Encaustic Tiled Victorian Hallway Floor in Kirkby Stephen Read More »

Victorian Floor Renovated in Windermere Lake District

6-inch Red Victorian Floor Tiles Renovated in a Windermere Kitchen

These old Red Victorian floor tiles in the kitchen of a property in Windermere might appear to be Quarry Tiles on first inspection however they are not. One way of telling is to look at the grout lines, modern quarry tiles are always set with at least 4mm grout joints (sometimes a lot more). Victorian floor tiles are always rebated together as close as possible with only a millimetre of grout being put in place but as grout wasn’t around over a 100 years ago it was either white limecrete or grey screed cement which was used.

Old Victorian Period Red 6 inch floor tiles before cleaning in Windermere

It’s important to know what you are working on as standard Victorian tiles have no sand fillers in the clay unlike the much thicker contract and standard quarry tiles; these red Victorian tiles are pure clay all the way through which means we can go much deeper on the cleaning.

Old Victorian Period Red 6 inch floor tiles before cleaning in Windermere

The floor had previously been covered in carpet for many years and to secure it and the underlay to the tiles a strong adhesive had been used. A self-levelling cement compound had also been applied and lastly there was red paint to deal with.

Old Victorian Period Red 6 inch floor tiles before cleaning in Windermere

Cleaning a Victorian Tiled Kitchen Floor

Before cleaning the first task was to run a line of silicone around all the kitchen unit edges. These are often made of MDF and not solid wood and any amount of water will blow the MDF within 5 to 10 minutes of contact. Clear silicone is used for this and left in place as it’s a great way to protect the units even from the water used in daily mopping of the floor tiles. Once that had been applied the units were then covered with a protective plastic sheet that was secured in place with tape.

To tackle the red paint and other contaminates, Tile Doctor Oxy Gel was applied and scrubbed into the floor, this softens the paint and worked well on the remnants of carpet underlay that were still firmly attached to the tiles.

Old Victorian Period Red 6 inch floor tiles during cleaning in Windermere

The cement screed was mostly scraped off and anything left over was loosened using Tile Doctor Acid Gel worked in with a buffing machine fitted with a black scrubbing pad. Some edging work was needed, and this had to be done by hand with small brushes. To finish off the floor was rinsed with water and a wet vacuum was used to extract all soiling and residue.

Sealing a Victorian Tiled Kitchen Floor

With the cleaning finished we left for the day and let the floor dry off overnight. The use of gel cleaning products ensured water was kept to a minimum and allow for a quicker drying time.

Next day the tiles were sealed with the tiles two coats of a breathable sealer called Tile Doctor X-Tra Seal. This sealer is an oil-based product that adds structure to the tile and does a great job of lifting the colour in the clay tile. X-Tra Seal is also fully breathable and will cope well with any moisture rising through the floor. This is always a concern with old floors like this one that don’t have the benefit of a damp proof membrane.

Old Victorian Period Red 6 inch floor tiles after cleaning in Windermere

You will notice some patchiness on the after pictures of the clay tiles after the sealer had dried. With old floors like this you never know its full history and what might have been used on it before, in this case I suspect the patchiness is down to the miss use of a chemical cleaning product in the past, probably something with a strong acid base. These tiles are generally not acid sensitive but constant use of acid on any surface will deteriorate the finish as it opens the pores in the clay and lets the dirt in. Once the pores are open on a clay tile, they won’t close so we resolve this by using X-Tra seal and filling any cavities with oil.

Old Victorian Period Red 6 inch floor tiles after cleaning in Windermere

Once done the floor looked so much cleaner and brighter and the new sealer will protect it from ingrained dirt well into the future.

Old Victorian Period Red 6 inch floor tiles after cleaning in Windermere


Professional Restoration of a Victorian Tiled Kitchen Floor in Cumbria

6-inch Red Victorian Floor Tiles Renovated in a Windermere Kitchen Read More »

Scroll to Top